
Cinnamon Layered Scones with Vanilla Glaze
Buttery layers, cinnamon sugar, and a drizzle of vanilla glaze – everything you want with your morning coffee.
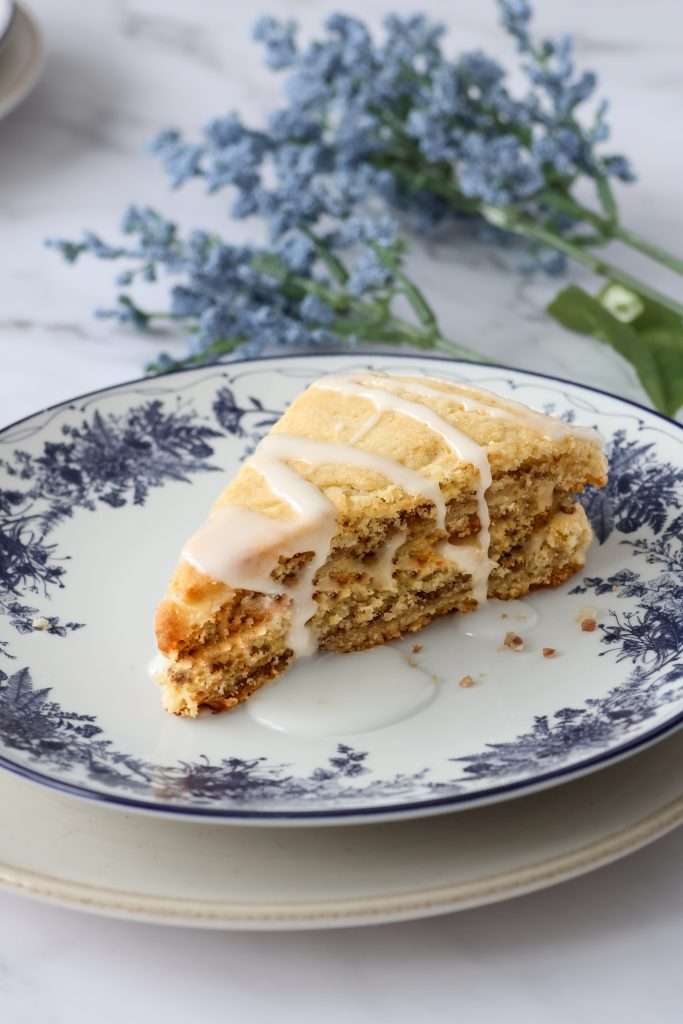
Some mornings, I want cinnamon rolls. I just don’t necessarily want to make cinnamon rolls.
There’s the dough, the rising, and the realization that breakfast has become more of an afternoon event. And while I’m very happy to spend that kind of time baking, sometimes I’d like something warm with my coffee while it’s still morning.
These cinnamon layered scones are for those days.
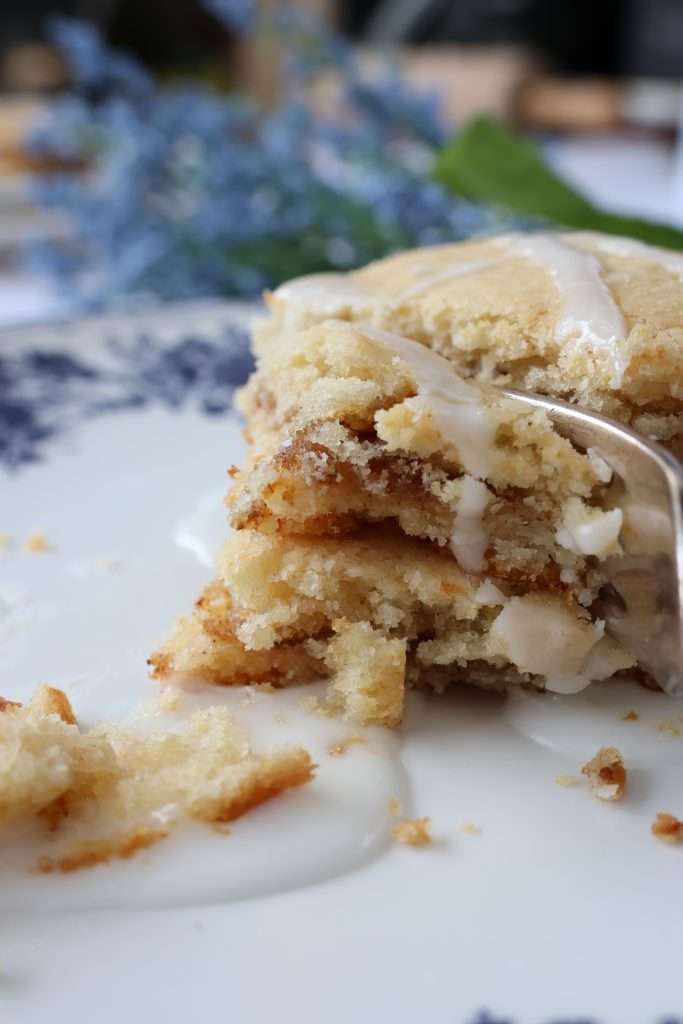
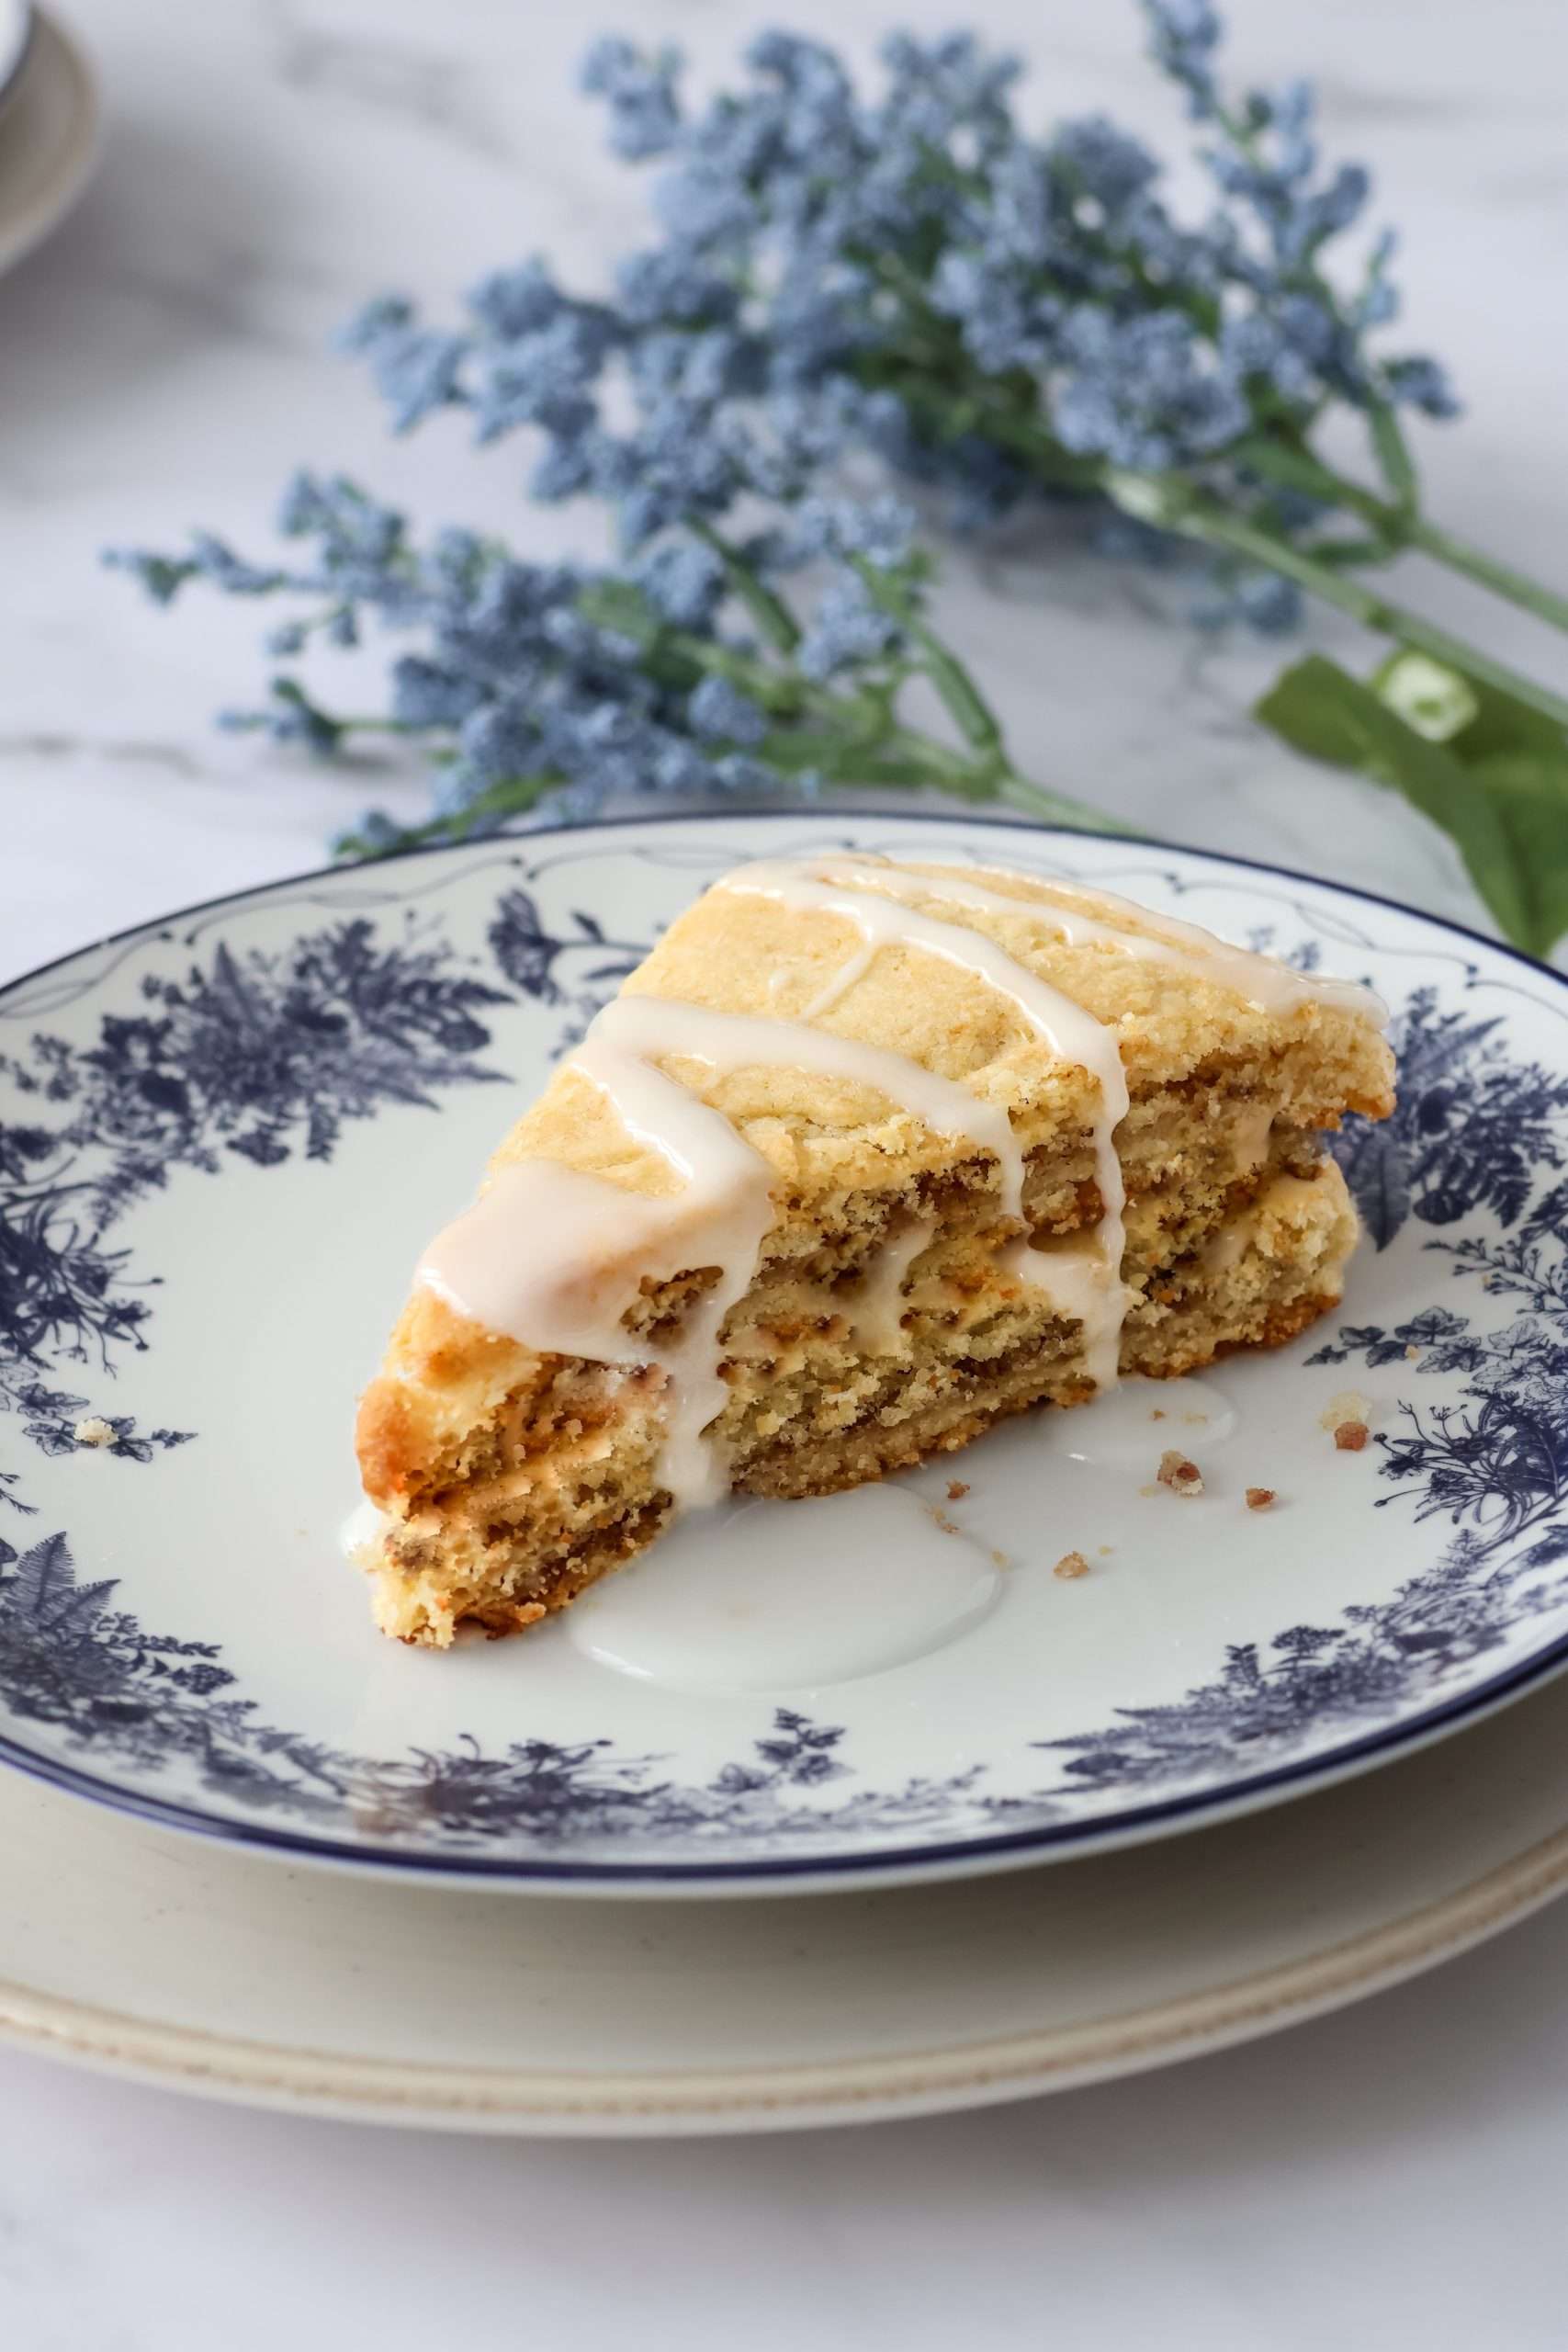
Three layers of buttery scone dough, brown sugar and cinnamon tucked between them, and a drizzle of vanilla glaze over the top. The edges turn golden in the oven, the middle stays tender, and there’s cinnamon filling in every bite.
They’re still very much a scone, with that lovely buttery crumb. But they certainly borrow a few good ideas from a cinnamon roll.
This post may contain affiliate links. I only share products I truly use and love, and any purchase helps support my work at no extra cost to you.
Looking for something specific?
Why You’ll Love These Cinnamon Layered Scones
- No yeast or rising time. A short chill helps the layers hold their shape, but there’s no waiting for dough to rise.
- Cinnamon filling between the layers. Brown sugar, butter, and cinnamon give each wedge a generous ribbon of flavour.
- Golden edges and a tender centre. Cold butter and gentle handling make all the difference.
- A simple vanilla glaze. Just enough sweetness to finish them off.
- Exactly what you want for a slow breakfast morning or coffee with a friend.
A Few Notes on the Ingredients
For the full list of ingredients and their measurements, please refer to the recipe card below.
All-purpose flour: Gives the scones enough structure to hold their layers while keeping the crumb tender. For the most consistent results, weigh the flour.
Cold unsalted butter: Keep it in the refrigerator until you need it. Those small pieces of butter in the dough help create the scones’ texture as they bake.
Milk: Whole milk adds a little richness, though 2% milk works too.
Brown sugar: Makes a soft, fragrant cinnamon filling. Light or dark brown sugar will work; dark brown sugar brings a deeper molasses flavour.
Cinnamon: These are generously spiced. Use the full two tablespoons for a bold cinnamon filling, or reduce it to 1½ tablespoons if you prefer.
Vanilla: A little in both the dough and glaze rounds out the cinnamon flavour.
How to Get Those Cinnamon Layers
The dough is divided into three equal portions, and each portion is gently shaped into a circle. Spread half the cinnamon filling over the first circle, add the second circle and the remaining filling, then finish with the last circle of dough.
You don’t need perfectly matching circles. Gently ease the edges into place as you stack them, without pressing the layers flat.
Once assembled, cut the stack into eight wedges and chill them before baking. This makes the dough easier to handle and helps firm up the butter after shaping.

FROM MY SWISS KITCHEN
Join me at the kitchen table.
Swiss-inspired recipes, cozy baking, and seasonal stories delivered each week.
Seasonal recipes, Swiss stories, and no spam.
Equipment Needed
- Large mixing bowl
- Small bowls
- Pastry cutter or fork
- Measuring cups and spoons or kitchen scale
- Sharp knife or bench scraper
- Baking sheet
- Parchment paper
- Cooling rack
How to Make Cinnamon Layered Scones
Step 1: Make the Cinnamon Filling
Stir together the melted and cooled butter, brown sugar, and cinnamon. You’re looking for a soft, spreadable paste that will stay where you put it.
If the mixture is still warm or runny, give it a few minutes to cool. Keeping that warmth away from the scone dough will make layering much easier.
Step 2: Prepare the Scone Dough
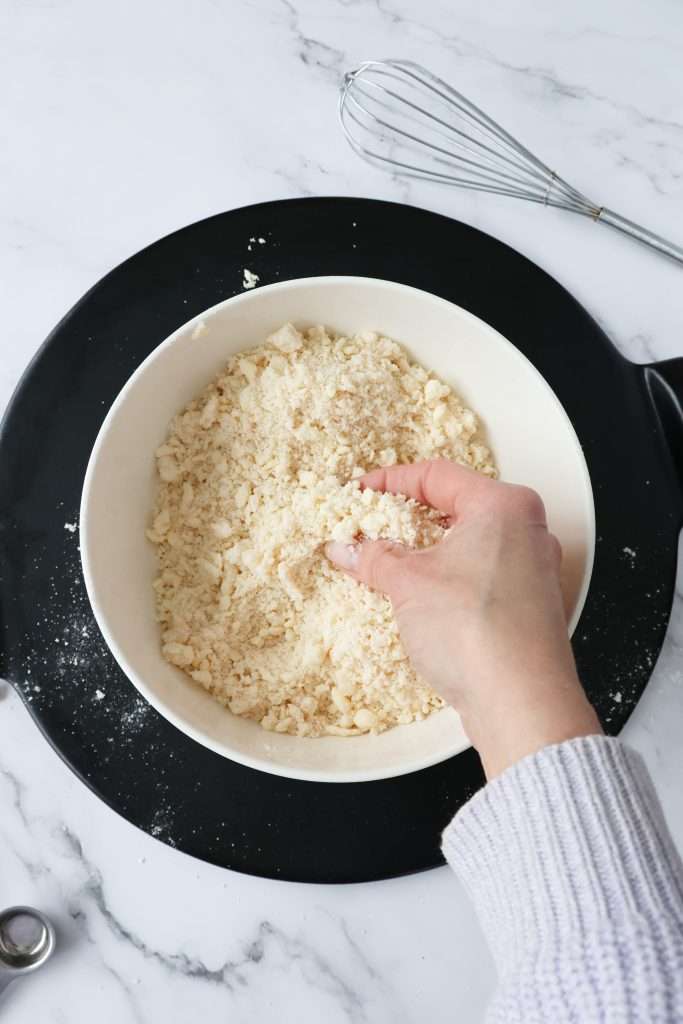
Whisk the flour, sugar, baking powder, and salt together in a large bowl. Add the cold, cubed butter and work it into the flour with a pastry cutter or your fingertips.
Leave some small, pea-sized pieces of butter throughout the mixture – there’s no need to make it perfectly uniform.
Stir the milk and vanilla together, then pour them into the bowl. Gently mix just until a shaggy dough forms. It will look a little rough around the edges, and that’s exactly where you want to stop.
Step 3: Shape Three Circles
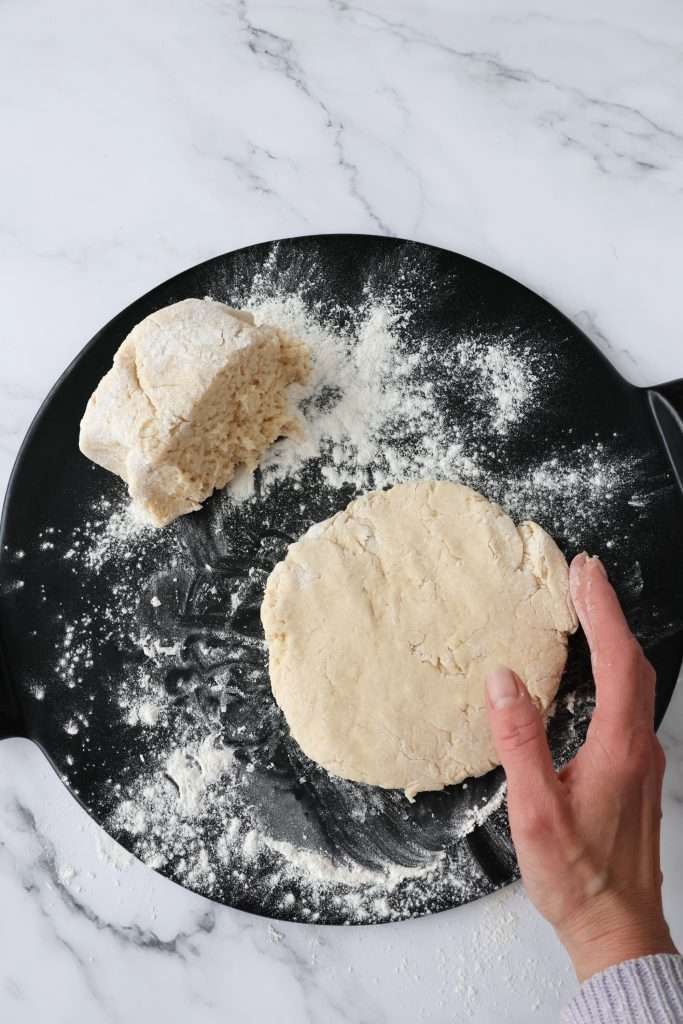
Turn the dough onto a lightly floured surface and gently press it together, folding it once or twice to gather any loose crumbs.
Divide it into three equal portions, then pat each one into a circle approximately 6 inches (15 cm) across and about 1 cm thick.
The dough is delicate, so use a little flour underneath to keep it from sticking. If it starts feeling soft or buttery, pop it into the refrigerator for a few minutes before continuing.
Step 4: Add the Cinnamon Layers
Spread half the cinnamon filling over the first circle of dough, leaving a small border around the edge.
Carefully lift the second circle onto the first and spread the remaining filling over it. Finish with the third circle, leaving the top plain.
Don’t worry about perfectly matching edges. Gently nudge them into place without pressing down on the stack – you want to keep the filling tucked between those layers.
Step 5: Cut and Chill
Using a sharp knife or bench scraper, cut the layered dough into eight wedges. Cut straight down through the stack, wiping the blade between cuts if it gets sticky.
Arrange the wedges on a parchment-lined baking sheet, leaving about 2 inches (5 cm) between them. Refrigerate for 20 minutes while the oven heats to 425°F (220°C).
That short chill helps firm up the butter after all the shaping and stacking.
Step 6: Bake Until Golden
Bake on the middle rack for approximately 18–22 minutes, checking from 15 minutes onward. Look for golden tops and edges, with the exposed dough between the cinnamon layers looking set rather than wet.
A little cinnamon filling may bubble onto the parchment. If the tops are browning before the centres are baked, loosely cover them with foil for the remaining time.
Let the scones rest on the baking sheet for about 5 minutes before carefully moving them to a cooling rack.
Step 7: Drizzle with Vanilla Glaze
Whisk the powdered sugar and vanilla with 1 tablespoon of milk, adding a little more milk as needed until the glaze falls from the whisk in a thick ribbon.
Let the cinnamon layered scones cool for another 5–10 minutes before drizzling it over the tops. Slightly warm is lovely; straight from the oven, they’ll send most of that glaze running onto the plate.
Then put the coffee on and enjoy one while the edges are still a little crisp.


Cinnamon Layered Scones with Vanilla Glaze
Equipment
Ingredients
Method
- Prepare the filling. Stir together the melted and cooled butter, brown sugar, and cinnamon. Set aside until it forms a spreadable paste. The filling should not be warm when added to the dough.
- Mix the dry ingredients. Line a baking sheet with parchment paper. In a large bowl, whisk together the flour, granulated sugar, baking powder, and salt.
- Cut in the butter. Add the cold, cubed butter. Using a pastry cutter or your fingertips, work it into the flour until crumbly, leaving some pea-sized pieces.
- Add the liquid. Combine the cold milk and vanilla, then pour into the flour mixture. Stir gently until a shaggy dough forms.
- Shape the dough. Turn onto a lightly floured surface. Gently press together, folding once or twice if needed to incorporate loose crumbs. Divide into three equal portions and pat each into a circle approximately 6 inches (15 cm) across and about ⅜ inch (1 cm) thick.
- Layer the scones. Spread half the cinnamon filling over the first circle, leaving a small border around the edge. Place the second circle on top and spread with the remaining filling. Top with the third circle. Gently align the edges without pressing the stack flat.
- Cut and chill. Cut straight down through the stack to make eight wedges. Transfer to the prepared baking sheet, leaving about 2 inches (5 cm) between them. Refrigerate for 20 minutes. Meanwhile, preheat the oven to 425°F (220°C).
- Bake. Bake on the middle rack for approximately 18–22 minutes, checking from 15 minutes onward. The tops and edges should be golden, and the exposed dough between the filling layers should look set. Loosely cover with foil if the tops brown too quickly.
- Cool slightly. Let the scones rest on the baking sheet for 5 minutes, then carefully transfer to a cooling rack. Cool for another 5–10 minutes before glazing.
- Glaze and serve. Whisk together the powdered sugar, vanilla, and 1 tablespoon milk. Add more milk a little at a time until thick but pourable. Drizzle over the slightly warm scones and serve.
Notes
- Tender scones: Keep the butter cold and handle the dough gently. If it becomes soft or greasy during shaping, refrigerate briefly before continuing.
- Filling: Some cinnamon filling may bubble out during baking. Use cooled filling and avoid pressing down firmly when stacking.
- Storage: Cool completely and store airtight at room temperature for up to 2 days. For the best reheating results, store unglazed.
- Reheating: Warm unglazed scones at 300°F (150°C) for 5–10 minutes, then add glaze.
- Make ahead: Cover the shaped wedges and refrigerate overnight. Bake directly from the refrigerator, allowing extra time if needed.
- Freezing: Freeze unglazed baked scones or shaped, unbaked wedges for up to 2 months. Bake unbaked wedges directly from frozen, allowing additional baking time.
Disclaimer: I am not a certified nutritionist. Nutrition facts are calculated using an automated database of common ingredients and are intended as an estimate only. Variations can occur depending on product brands, measuring methods, and ingredient swaps.
Did you make this recipe?
I'd love to know how it turned out!Tips for Tender Scones
- Keep the butter cold. If the dough becomes soft or greasy while you’re shaping it, pause and refrigerate it for a few minutes.
- Handle the dough gently. Press it together just enough to hold its shape. Kneading it until smooth can make the scones tough.
- Cool the filling before assembling. Warm filling will soften the butter in the dough and make the layers slippery.
- Cut straight down. A sharp knife helps keep the layers neat. Wipe the blade between cuts if the filling starts to stick.
- Give the cinnamon layered scones a little cooling time. The filling is very hot straight from the oven, and the glaze will settle better once the scones have cooled slightly.
Storage and Make-Ahead
How to Store Cinnamon Layered Scones
These scones are at their best the day they’re baked, when the edges are slightly crisp and the centres are tender. Once completely cooled, store them in an airtight container at room temperature for up to 2 days.
To warm them, place in a 300°F (150°C) oven for 5–10 minutes. If you know you’ll be saving some for later, leave those unglazed and add the glaze after reheating.
Can I Make Them Ahead?
Yes! Prepare and cut the scones, then cover and refrigerate them overnight. Bake straight from the refrigerator the next morning, allowing a few extra minutes if needed.
You can also make the glaze ahead and refrigerate it in a covered container. Give it a stir before using, adding a few drops of milk if it has thickened.
Freezing Before Baking
For a future morning that needs something good, freeze the shaped, unbaked wedges of the cinnamon layered scones on a parchment-lined tray until firm. Transfer them to a freezer-safe bag or container and freeze for up to 2 months.
Bake directly from frozen, adding a few extra minutes and checking that the centres are baked through. If the tops brown too quickly, loosely cover with foil.
Freezing After Baking
Let the scones cool completely, then wrap individually and freeze in an airtight container for up to 2 months. Freeze without the glaze for the best results.
Thaw at room temperature, warm gently in the oven, and finish with a fresh drizzle of vanilla glaze.
Frequently Asked Questions
Can I make these without the glaze?
Absolutely. The cinnamon filling already adds sweetness, so the glaze is a finishing touch. You can leave it off or use a lighter drizzle.
Why did some of the filling leak out?
A little bubbling around the edges is expected with a butter and sugar filling. Cooling the filling, chilling the shaped scones, and avoiding firm pressure when stacking will help keep more of it between the layers.
Can I freeze these scones?
Yes. Freeze the cooled, unglazed scones in an airtight container for up to two months. Thaw and warm gently before adding fresh glaze.
How should I store leftover scones?
These are best on the day they’re baked. Once completely cool, keep leftovers in an airtight container at room temperature for up to two days.
To refresh them, warm briefly in a low oven. If you’re planning ahead, keep the glaze separate and add it after reheating.
Watch the Video
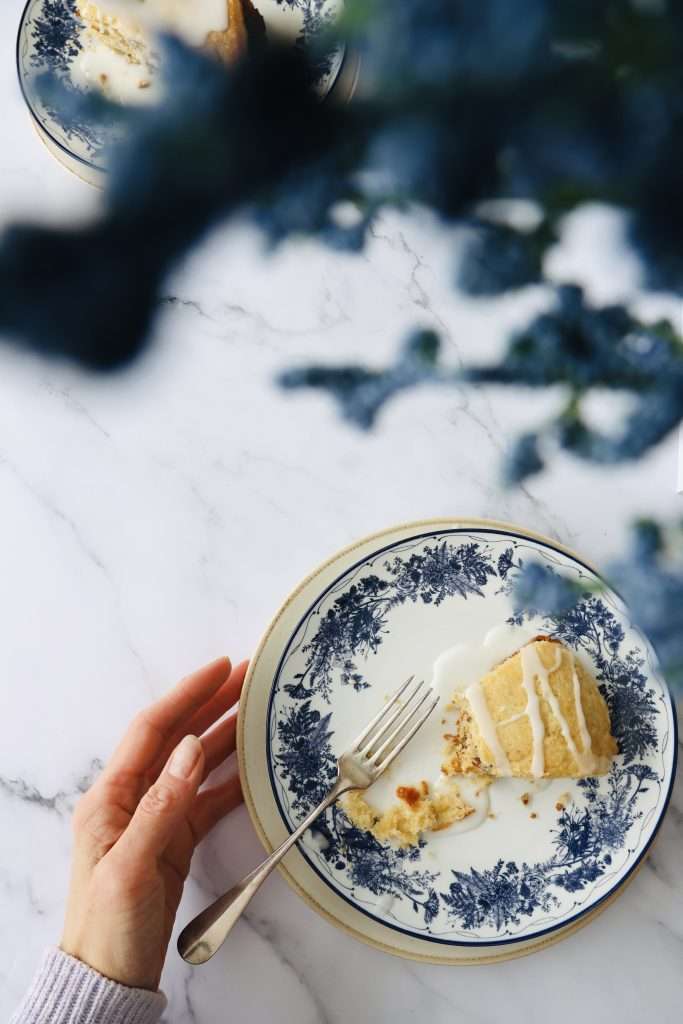
I like these while they’re still a little warm, when the glaze has settled into the top and the edges have that lovely bit of crispness. A plate, a coffee, and a few crumbs left behind.
If you make these cinnamon layered scones, leave a comment and a star rating below. And if you share a photo, tag @poeticroad – I’d love to see what’s coming out of your oven.
Newsletter Sign-Up
Hungry for More Swiss Recipes?
If you’re curious about Swiss food beyond fondue and chocolate, you’re in the right place.
Subscribe to my newsletter and I’ll send you seasonal recipes, Swiss kitchen favorites, and the occasional family story straight from my Swiss-Canadian kitchen.


