
Classic Pumpkin Pie with Graham Cracker Crust
Pumpkin pie is one of those recipes I must make every fall. This is the one I make every year, with a creamy pumpkin filling, plenty of warm spice, and a buttery graham cracker crust. Add a spoonful of whipped cream, and it’s exactly what I want after Thanksgiving dinner – or with a coffee the next afternoon.
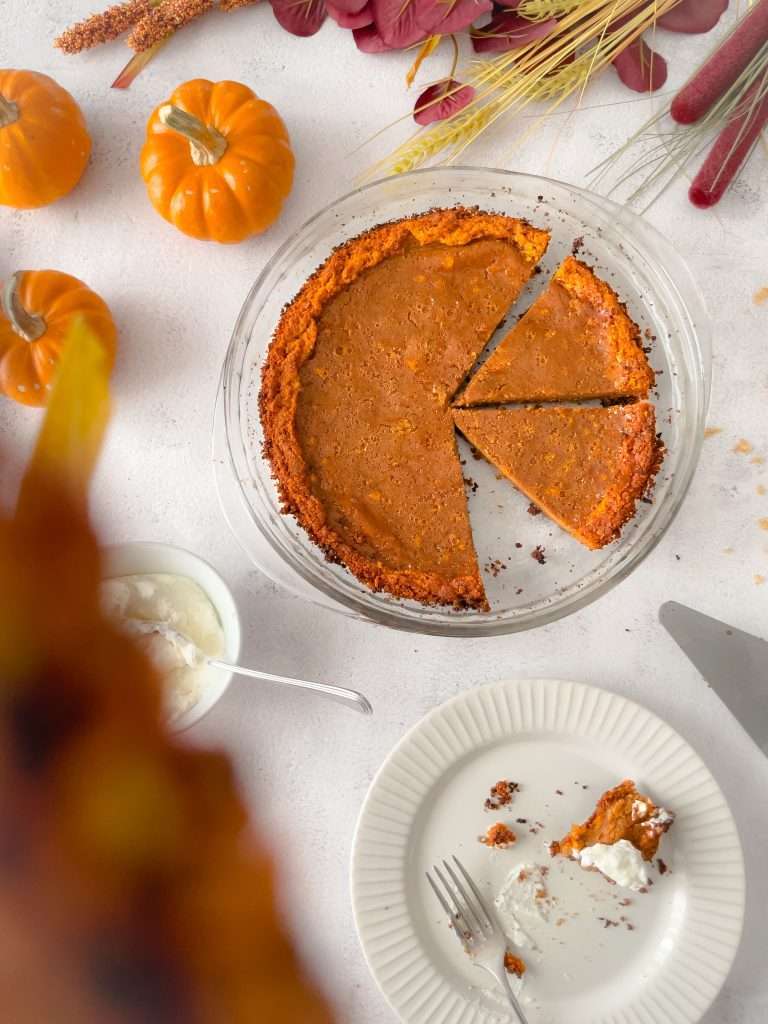
There are plenty of Swiss recipes in my kitchen, but pumpkin pie has has always had its place at our table here in Canada. It’s part of my fall baking, and when Thanksgiving comes around, this is the recipe I have made since I was a child.
I absolutely love the graham cracker crust of this pie. It’s easy to press into the dish, there’s no pastry to roll out, and the buttery crumbs go so well with the spiced pumpkin filling. A little cinnamon in the crust brings the two together.
It’s also a useful dessert to make ahead. The pie needs time to cool and chill, which means you can have it ready the day before and leave yourself one less thing to do before dinner.
This post may contain affiliate links. I only share products I truly use and love, and any purchase helps support my work at no extra cost to you.
Looking for something specific?
What you’ll love about this recipe
- No pastry to roll out. The buttery graham cracker crust is easy to press into your pie dish.
- Creamy pumpkin filling. Whole milk and evaporated milk give it a smooth, custardy texture.
- Plenty of warm spice. Cinnamon, ginger, nutmeg, cloves, and allspice bring all the fall flavour.
- Easy to make ahead. Bake it the day before, refrigerate overnight, and add whipped cream when you’re ready to serve.
Ingredient Notes
For the full list of ingredients and their measurements, please refer to the recipe card below.
The filling starts with plain pumpkin purée, sweetened with granulated sugar and seasoned with cinnamon, nutmeg, cloves, ginger, and allspice. Whole milk and evaporated milk give it a creamy texture, while eggs help it set into a sliceable custard.
Use plain pumpkin purée rather than pumpkin pie filling, which already contains sugar and spices. Canned purée is convenient, but homemade works too, provided it’s thick and smooth. (If yours looks watery, drain it in a fine-mesh sieve lined with cheesecloth before measuring).
For the crust, use finely crushed graham crackers. If you’re crushing them yourself, a food processor makes quick work of it, or you can put them in a sealed bag and crush them with a rolling pin. I would suggests measuring the crumbs rather than counting cracker sheets, as sizes vary between brands.


FROM MY SWISS KITCHEN
Join me at the kitchen table.
Swiss-inspired recipes, cozy baking, and seasonal stories delivered each week.
Seasonal recipes, Swiss stories, and no spam.
Equipment Needed
- Deep 9-inch pie dish
- Mixing bowls
- Whisk
- Spatula
- Measuring cups and spoons or a kitchen scale
- Food processor or a sealed bag and rolling pin, if crushing whole crackers
- Baking sheet
- Wire cooling rack
How to Make Pumpkin Pie with a Graham Cracker Crust
Prepare the crust
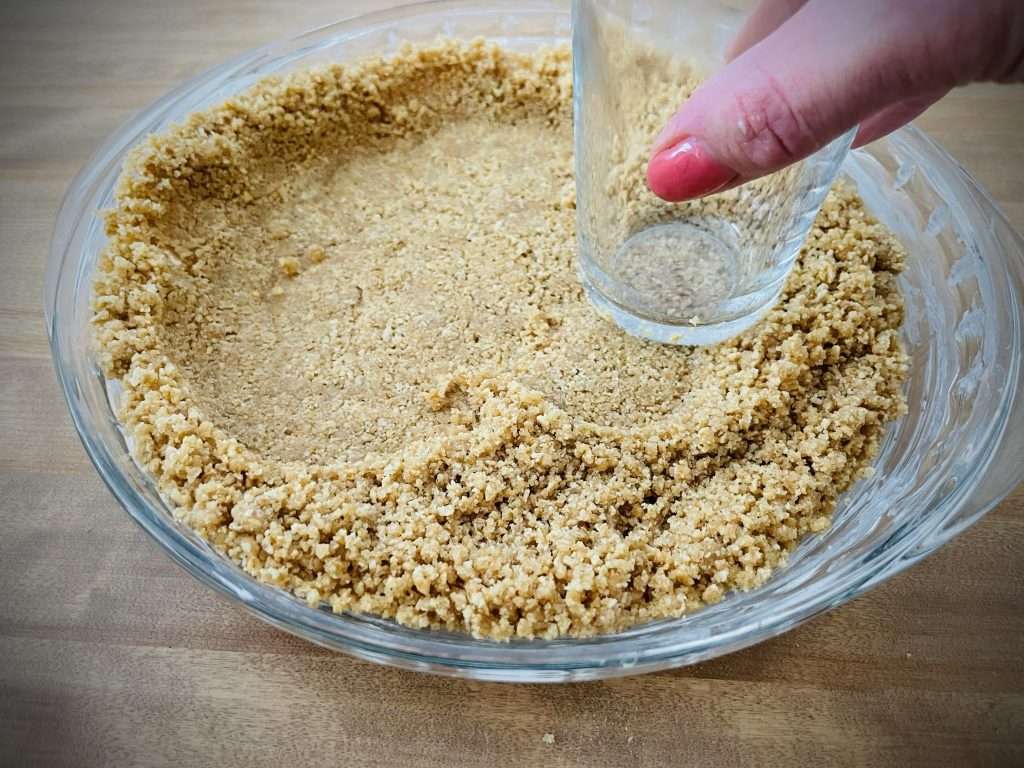
Mix the graham cracker crumbs with the sugar, salt, and cinnamon, then stir in the melted butter. The mixture should look like damp sand and hold together when pressed.
Press it evenly over the bottom and up the sides of your pie dish. The flat bottom of a measuring cup helps smooth it out. Press firmly enough for the crumbs to hold together, without packing them into a very hard layer.
Bake the crust briefly, then let it cool slightly while you prepare the filling.
Mix the pumpkin filling
Whisk the pumpkin purée with the sugar, salt, and spices. Add the lightly beaten eggs, followed by the whole milk and evaporated milk, and whisk just until smooth. There’s no need to whip air into the mixture.
Fill and bake
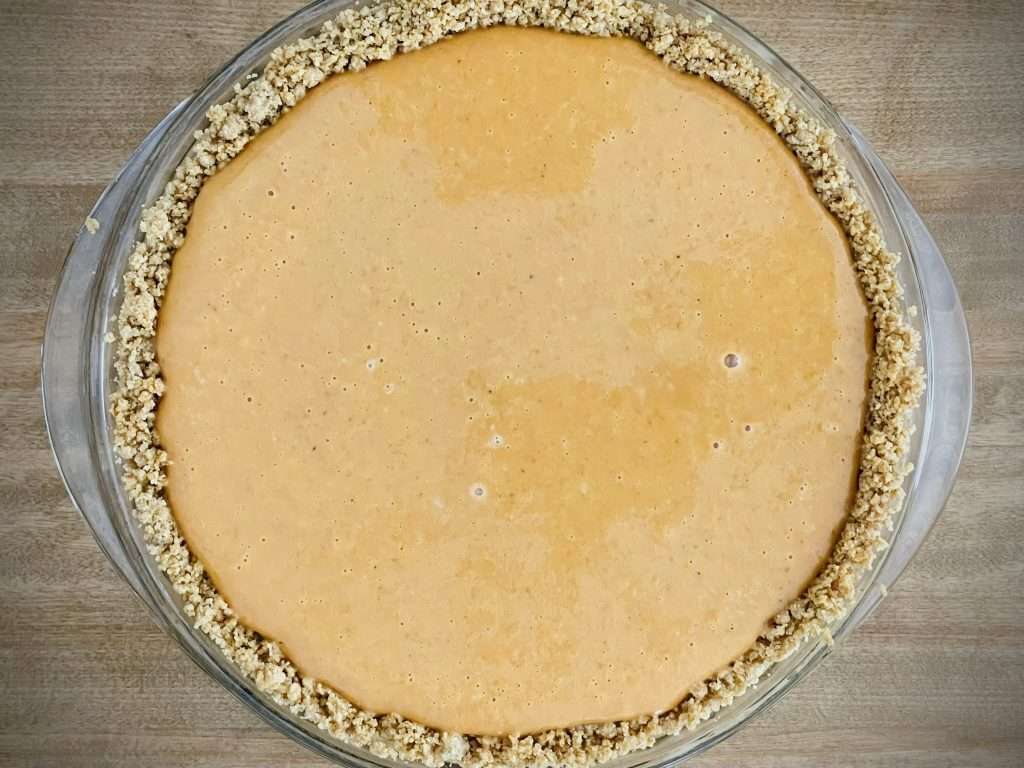
Set the pie dish on a rimmed baking sheet before pouring in the filling. It makes the pie easier to move and catches any spills. Leave a little space below the rim; if your dish is smaller, bake any extra filling separately in an ovenproof ramekin.
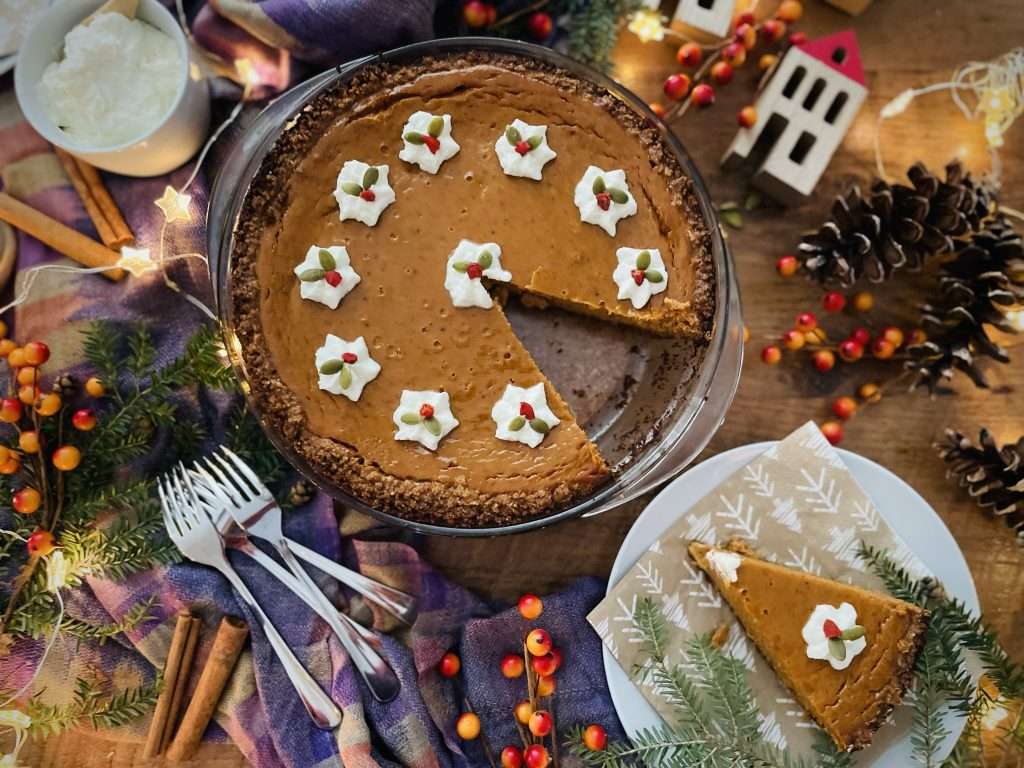
Bake until the edges are set but the centre still has a gentle wobble. The middle should jiggle slightly as one piece when you gently nudge the dish, rather than ripple like liquid.
Cool and chill
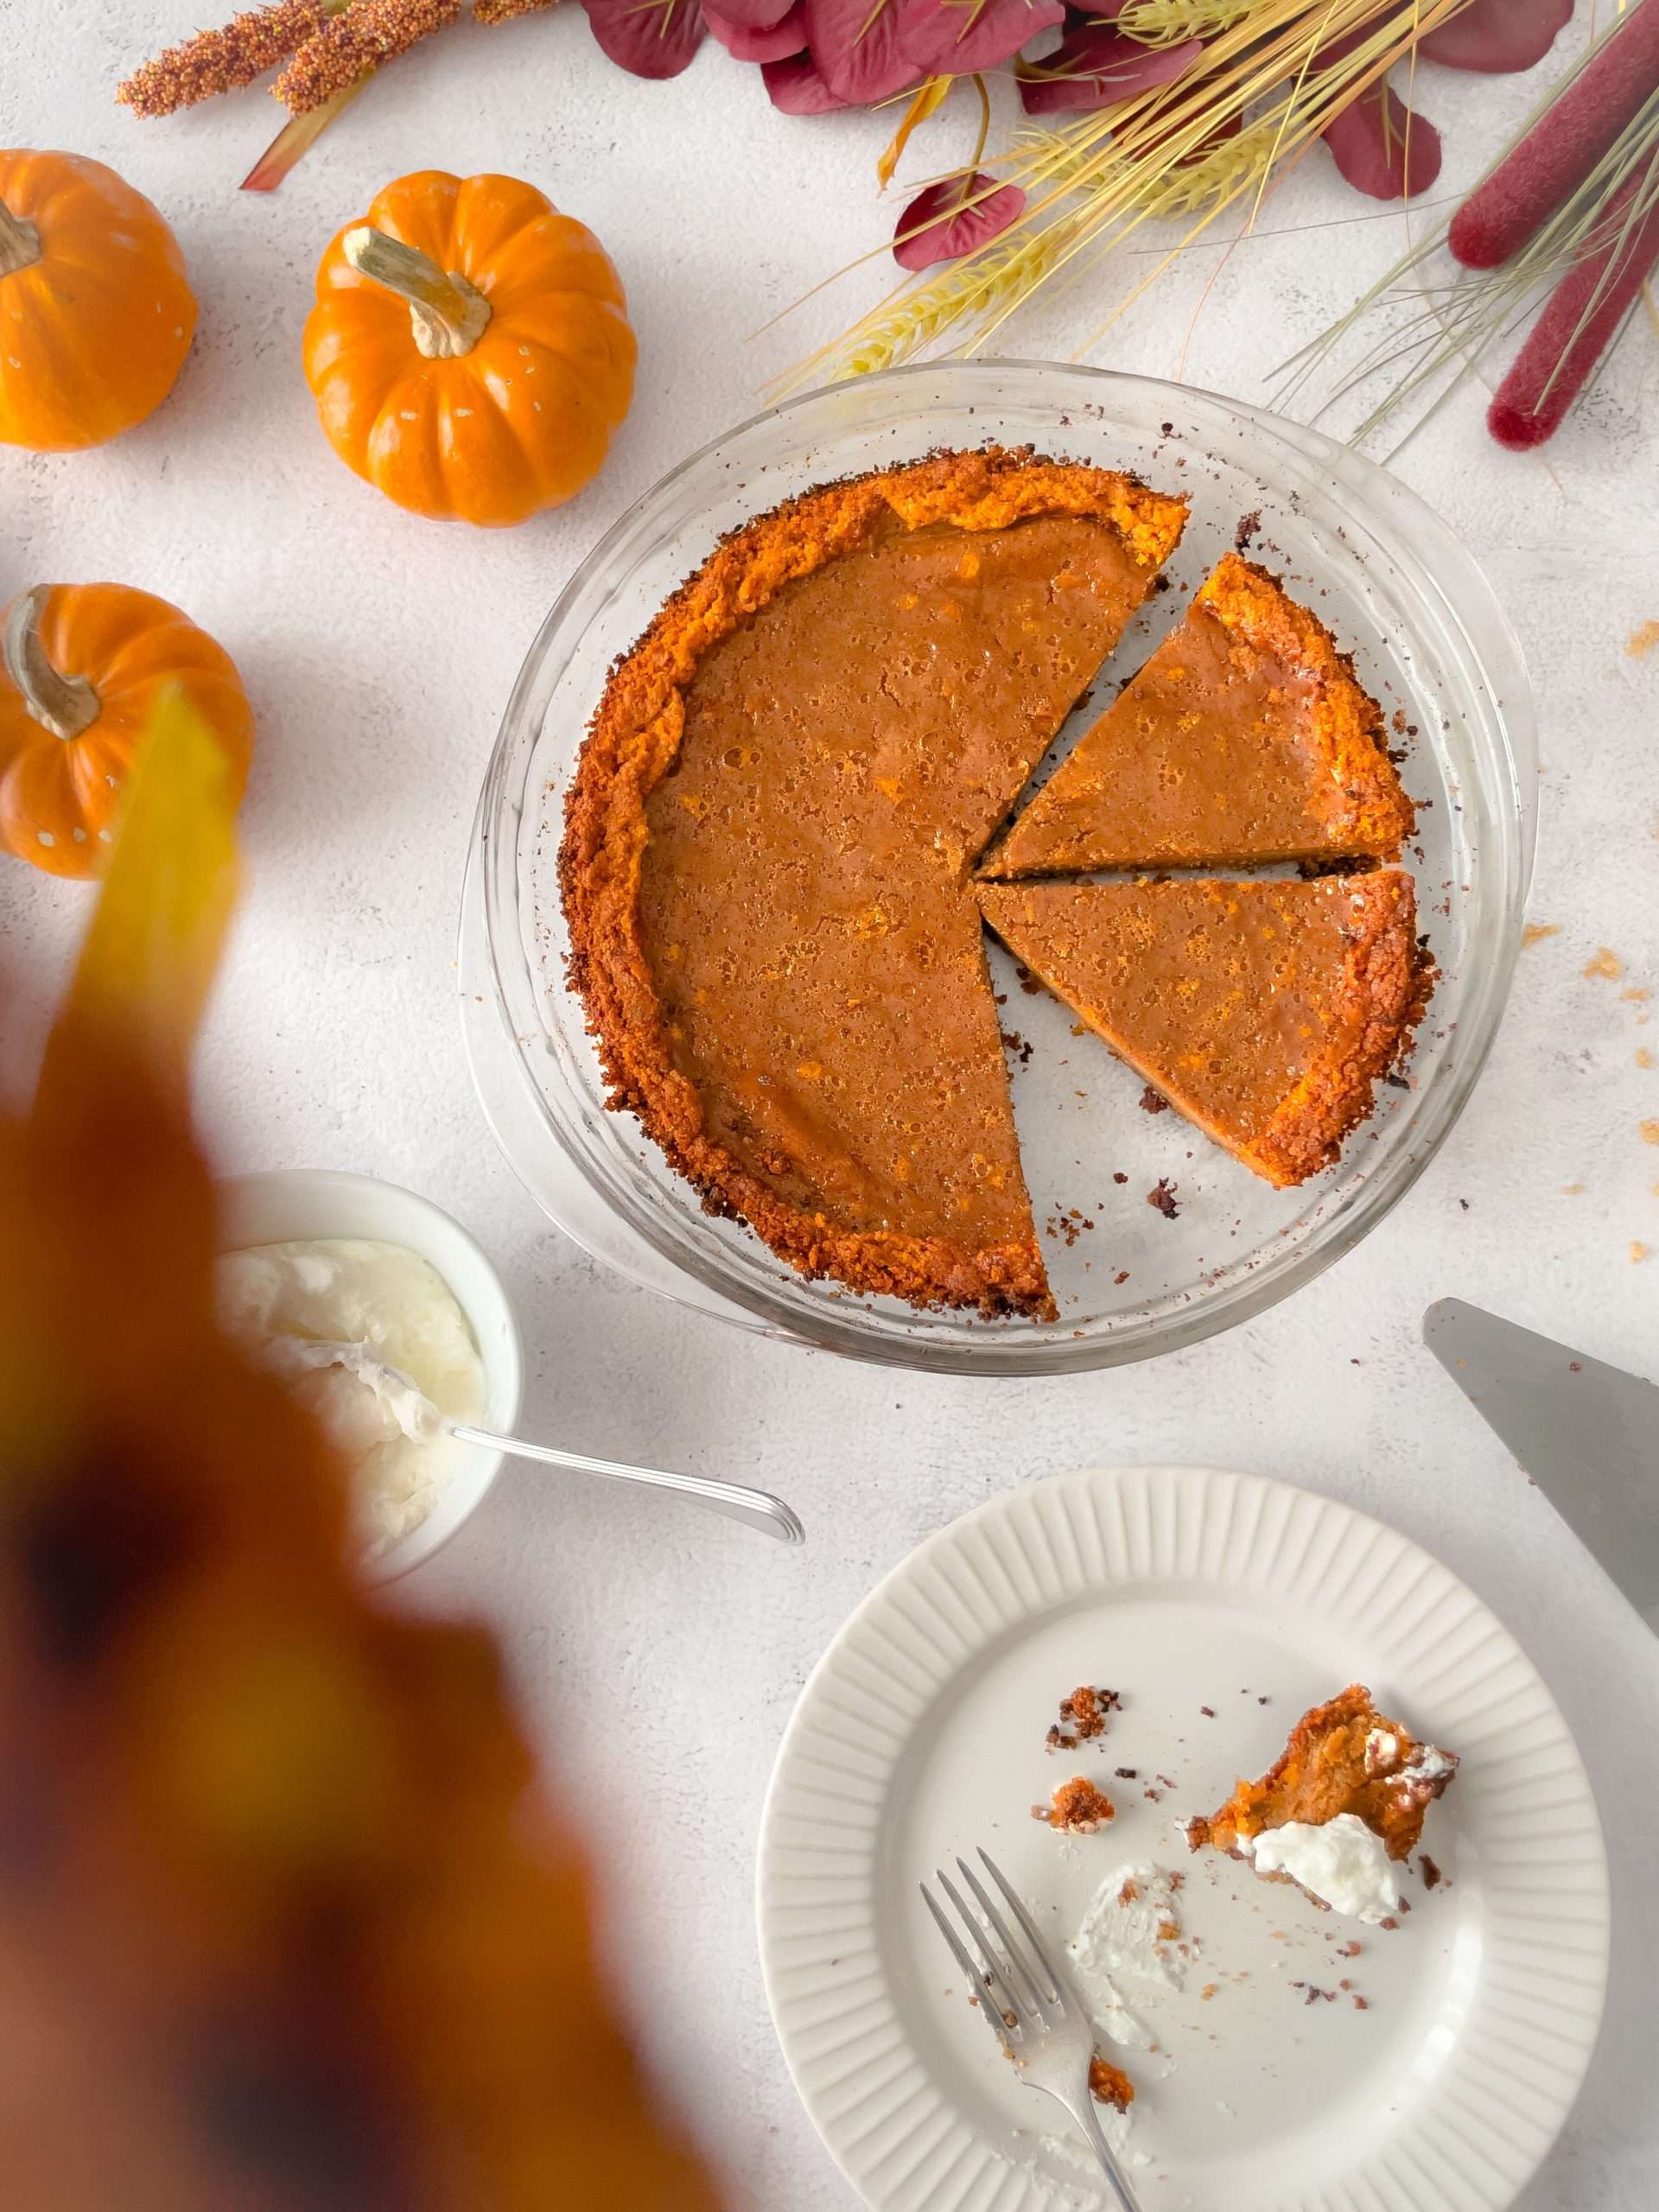
Let the pie cool on a wire rack, then refrigerate until thoroughly chilled. This gives the filling time to firm up so you can cut neat slices.
Tips for a Smooth Pumpkin Pie
Watch the filling, not just the clock. Pie dishes and ovens vary, so start checking before the end of the suggested baking time.
Avoid overbaking. Waiting until the centre is completely firm in the oven can lead to cracks as the pie cools. A small wobble in the middle is what you’re looking for.
Protect the crust if needed. If the exposed crumb edges are getting too dark, cover them loosely with strips of foil.
Plan for chilling time. This pie is a perfect for baking the day before you want to serve it.
Classic Pumpkin Pie with Graham Cracker Crust
Equipment
Ingredients
Method
- Preheat the oven to 350°F (175°C), with a rack in the lower-middle position.
- In a bowl, combine the graham cracker crumbs, sugar, salt, and cinnamon. Stir in the melted butter until the crumbs are evenly moistened.
- Press the mixture evenly into the bottom and up the sides of a deep 9-inch pie dish. Bake for 10 minutes, then set aside to cool slightly. Leave the oven at 350°F (175°C).
- In a large bowl, whisk together the pumpkin purée, sugar, salt, cinnamon, nutmeg, cloves, ginger, and allspice.
- Whisk in the lightly beaten eggs, then gradually add the whole milk and evaporated milk. Mix just until smooth.
- Place the pie dish on a rimmed baking sheet and pour the filling into the crust, leaving a little space below the rim. If necessary, bake excess filling separately in an ovenproof ramekin.
- Bake for approximately 55–70 minutes, checking from around 50 minutes, until the edges are set and the centre still has a gentle wobble. Loosely cover the exposed crust edges with foil if they begin to brown too much.
- Cool on a wire rack, then refrigerate within 2 hours of baking. Chill for at least 4 hours, or overnight, until fully set.
- Slice and serve with whipped cream, if desired.
Notes
- Crust thickness: Start with 1½ cups of crumbs for a thinner crust, or use the full 2 cups for a thicker crust or larger dish.
- Fresh pumpkin: Drain watery homemade purée before measuring.
- Make ahead: Bake a day ahead and refrigerate overnight.
- Storage: Cover and refrigerate for up to 3–4 days.
Disclaimer: I am not a certified nutritionist. Nutrition facts are calculated using an automated database of common ingredients and are intended as an estimate only. Variations can occur depending on product brands, measuring methods, and ingredient swaps.
Did you make this recipe?
I'd love to know how it turned out!
Serving and Storage
Serve chilled, or let individual slices sit briefly at room temperature before serving. Lightly sweetened whipped cream is my favourite finishing touch. You can add a little cinnamon to the cream if you like, but the pie has plenty of spice on its own.
Keep the cooled pie covered in the refrigerator for up to 3–4 days. Refrigerate within 2 hours of baking; don’t wait for it to become completely cold on the counter.
Frequently Asked Questions
Can I use homemade pumpkin purée?
Yes. Use a smooth, thick purée and drain off excess moisture before measuring. A watery purée can make the filling softer and affect the baking time.
Can I make pumpkin pie ahead of time?
Yes—make it a day ahead, cool it, and refrigerate overnight. Add whipped cream when serving.
Can I use pumpkin pie spice?
You can replace the individual filling spices with 2¼ teaspoons of pumpkin pie spice. The flavour will vary depending on the blend.
Why is my pumpkin pie filling runny?
It may need more baking time, or it may not have chilled long enough to set. Watery homemade pumpkin purée can also affect the texture. The filling should have set edges and a gently wobbling centre when it comes out of the oven.
Watch the Video
This pumpkin pie makes its way onto our table every year, and I hope you’ll enjoy it just as much at yours. Don’t forget the whipped cream!
If you give it a try, leave a comment and a star rating below – I’d love to hear how it turned out. And if you share a photo on Instagram, tag @poetic_road so I can see your baking!
Newsletter Sign-Up
Hungry for More Swiss Recipes?
If you’re curious about Swiss food beyond fondue and chocolate, you’re in the right place.
Subscribe to my newsletter and I’ll send you seasonal recipes, Swiss kitchen favorites, and the occasional family story straight from my Swiss-Canadian kitchen.


