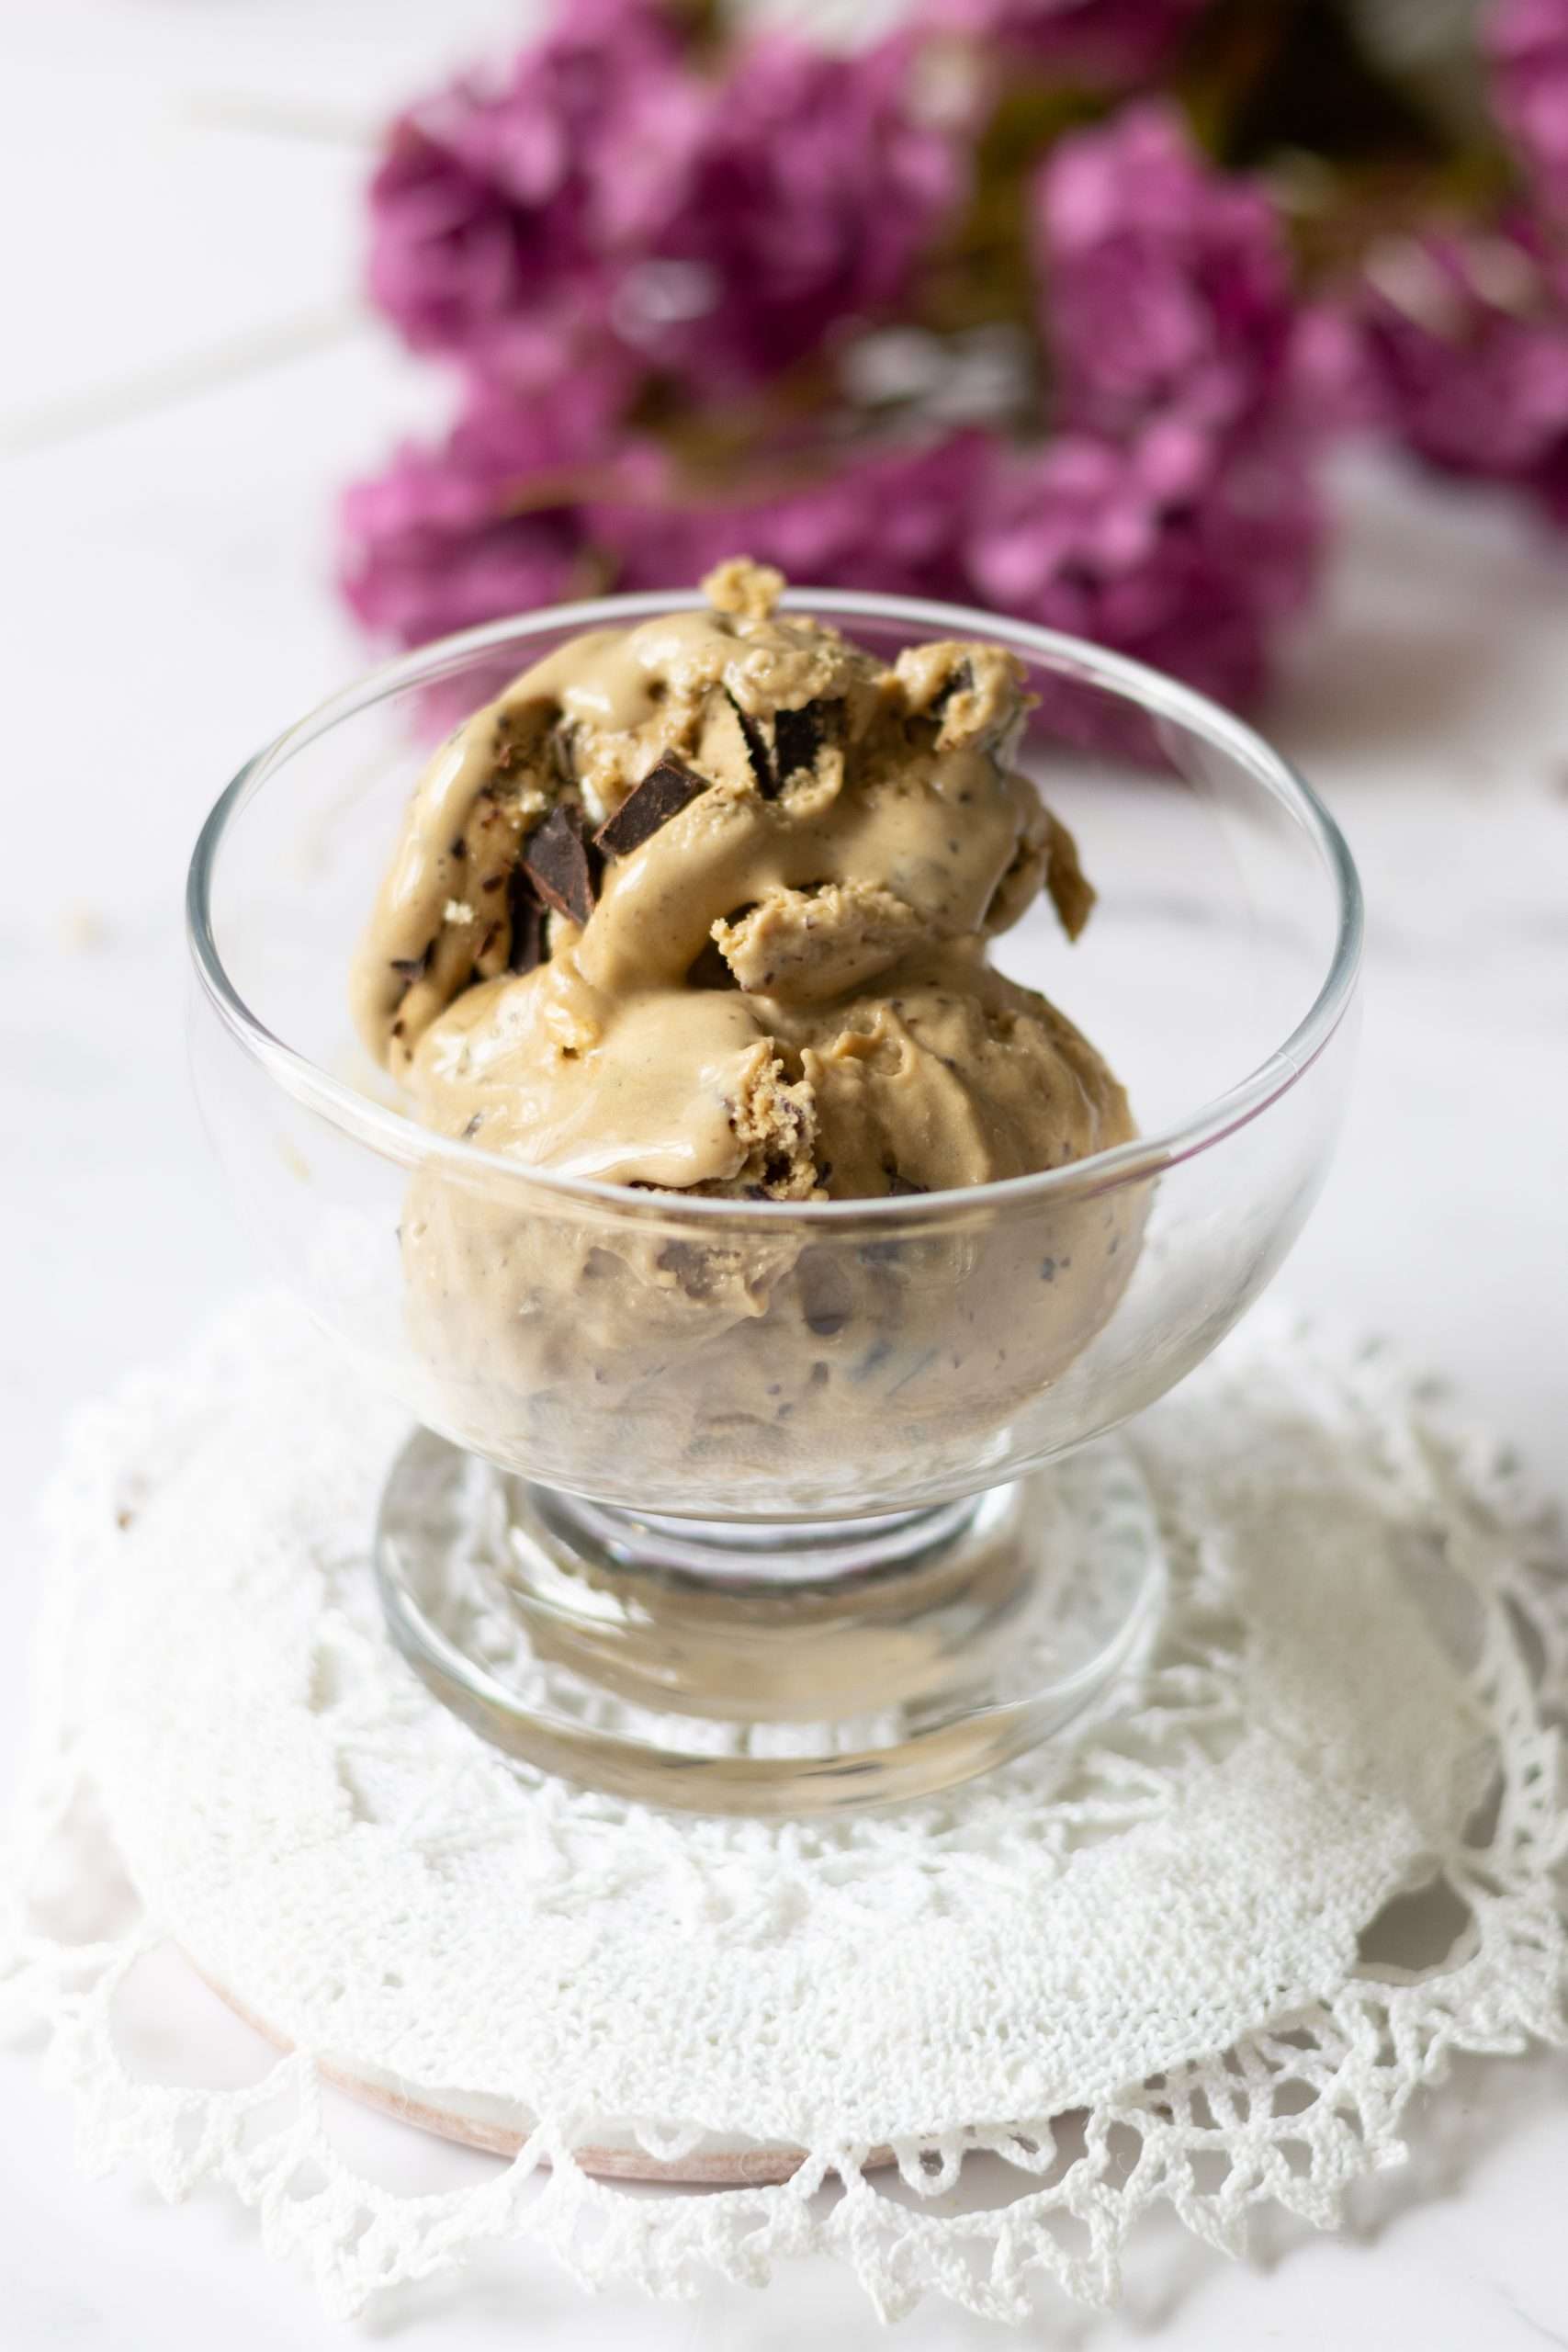
Homemade Coffee Ice Cream with Chocolate & Meringue (Café Liégeois Style)
An elegant, premium custard-based coffee ice cream layered with hand-chopped dark chocolate shards and crisp meringue pieces. Inspired by classic Swiss café traditions.
Ingredients
Method
- In a medium saucepan over medium heat, combine the heavy cream, whole milk, instant espresso powder, and 1/4 cup of the granulated sugar. Heat until steaming and the espresso is fully dissolved, but do not let it boil. Remove from heat.
- In a medium heatproof bowl, vigorously whisk the egg yolks with the remaining 1/4 cup of granulated sugar until the mixture is thick, smooth, and pale yellow.
- While whisking the egg yolk mixture constantly, slowly drizzle in about 1 cup of the warm cream mixture. This gently raises the temperature of the eggs so they do not scramble.
- Pour the tempered egg mixture back into the saucepan with the remaining warm cream. Place over low heat and stir constantly with a heatproof spatula or wooden spoon. Cook until the custard slightly thickens and cleanly coats the back of a spoon (about 8 to 10 minutes). Do not let it boil.
- Remove from heat and stir in the vanilla extract and sea salt. Strain the custard through a fine-mesh sieve into a clean bowl. Press plastic wrap directly onto the surface of the custard to prevent a skin from forming. Refrigerate for at least 4 hours, or overnight, until completely cold.
- Pour the completely chilled custard base into your ice cream maker and churn according to the manufacturer's instructions until it reaches a thick, soft-serve consistency (roughly 20 to 25 minutes).
- In the final 2 minutes of churning, gently drop in the crushed meringues and chopped dark chocolate shards so they are evenly distributed.
- In a small bowl, dissolve the brown sugar into the hot shot of espresso to create a thick syrup; let it cool slightly. As you transfer the churned ice cream into a freezer-safe container, alternate layers of ice cream with a drizzle of the espresso syrup, swirling gently with a butter knife.
- Cover tightly and freeze for 4 to 6 hours until firm and scoopable. Let it sit on the counter for 5 to 10 minutes before serving for the ultimate creamy texture.
Notes
Storage & Freezer Burn Prevention: Store the ice cream in a tightly sealed, airtight container in the deepest, coldest part of your freezer for up to 2 weeks. To prevent ice crystals from forming, press a piece of parchment paper or plastic wrap directly onto the exposed surface of the ice cream before sealing the lid.
The Chilling Secret: Never skip chilling the custard base. It must be completely cold (under 4°C / 40°F) before entering your ice cream maker. Churning a warm base creates large ice crystals, resulting in an icy texture rather than a creamy one.
Easy Scooping Tip: Because this is an all-natural, premium custard ice cream made without commercial softeners or stabilizers, it will freeze quite firm. Let the container sit on the kitchen counter at room temperature for 5 to 10 minutes before scooping to achieve that perfect, velvety texture.
Adding the Crunch: Always wait until the final 2 minutes of the churn cycle to add the crushed meringues and dark chocolate shards. This instantly coats them in the cold fat of the cream, which prevents the meringues from dissolving into the liquid base.
Caffeine Note: This recipe contains real caffeine from the espresso powder. If you want to serve this as a late-night summer dessert, simply substitute the espresso powder with a high-quality decaffeinated instant espresso at a 1:1 ratio.
Disclaimer: I am not a certified nutritionist. Nutrition facts are calculated using an automated database of common ingredients and are intended as an estimate only. Variations can occur depending on product brands, measuring methods, and ingredient swaps.