
Homemade Coffee Ice Cream with Chocolate & Meringue
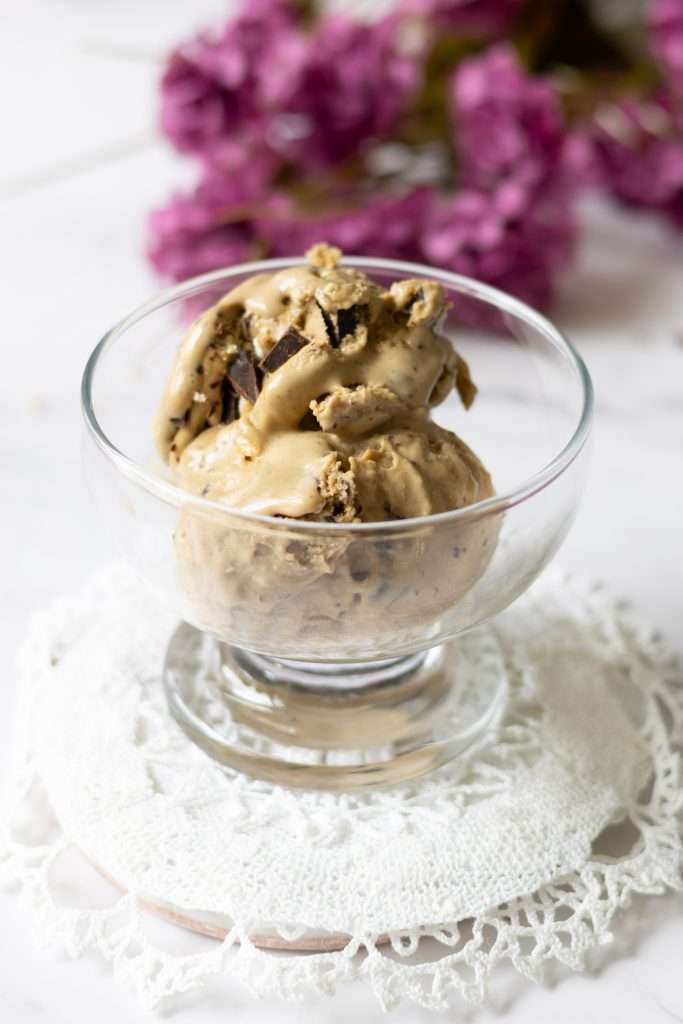
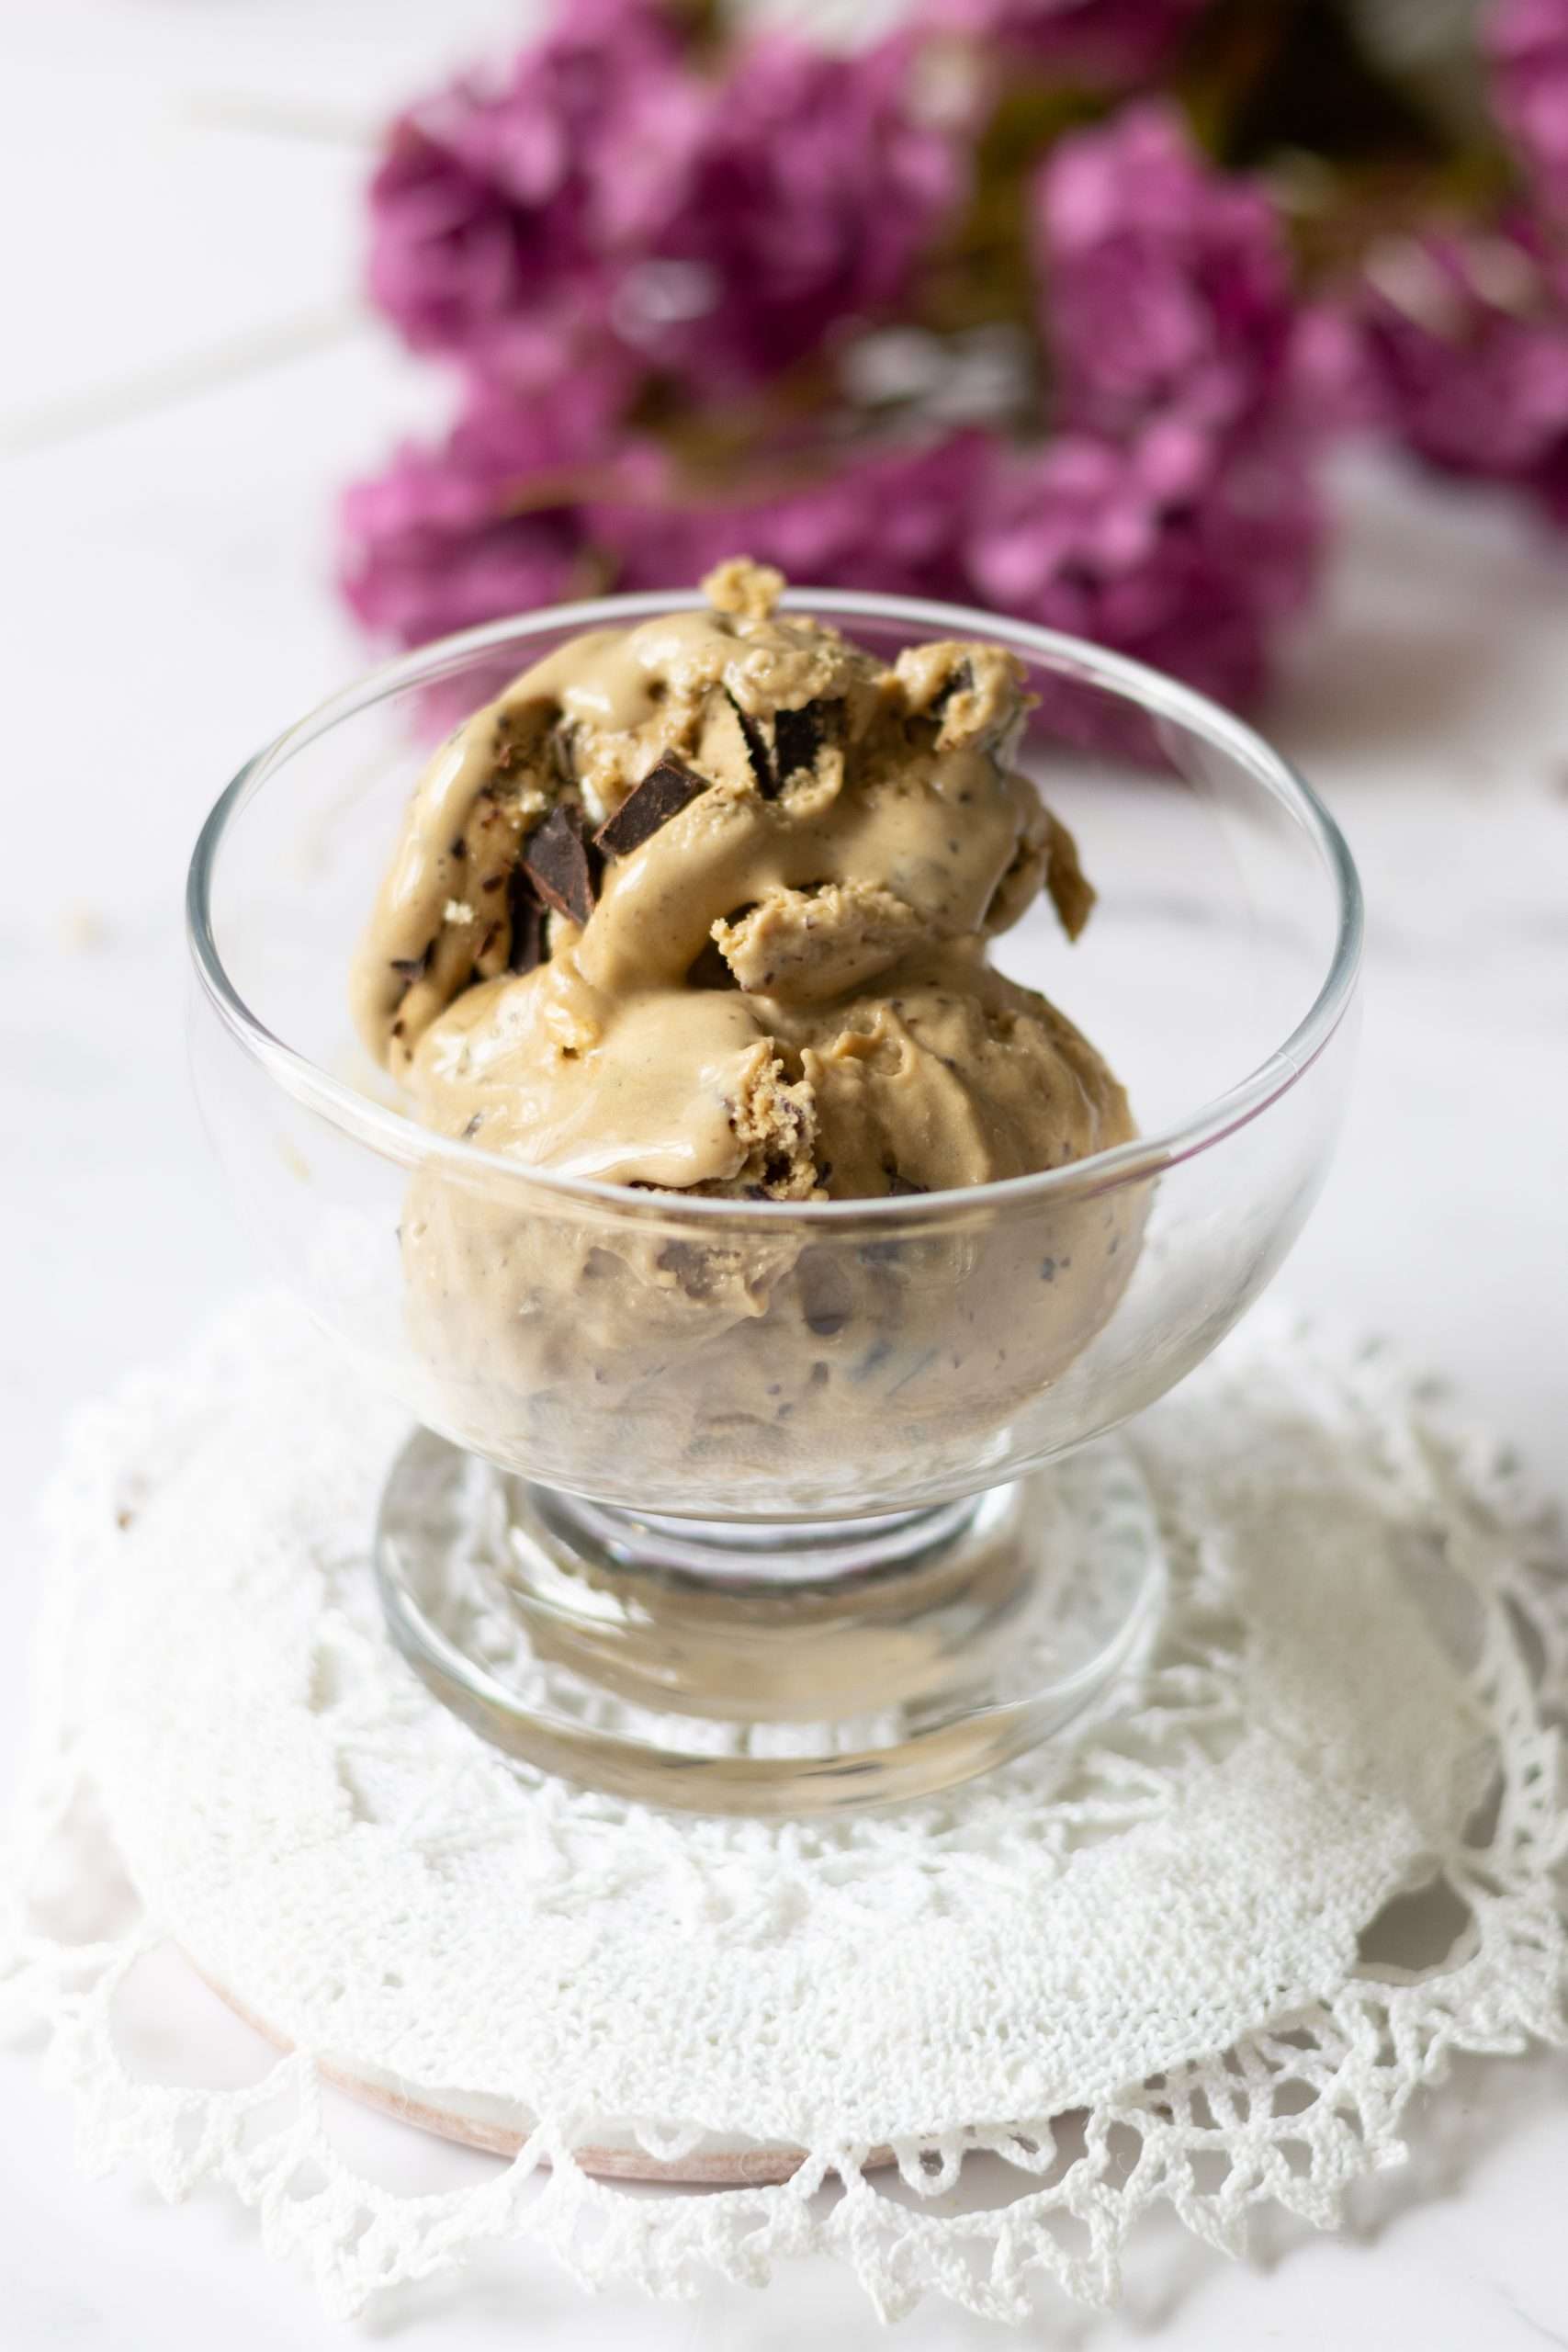
This homemade coffee ice cream is an elegant dessert rich with espresso flavor and layered with dark chocolate and crisp meringue pieces. Inspired by classic European café desserts, it’s exceptionally creamy, perfectly scoopable, and the ultimate refreshing treat for warm summer evenings.
This post may contain affiliate links. I only share products I truly use and love, and any purchase helps support my work at no extra cost to you.
Looking for something specific?
A Taste of the Swiss Café Tradition
I have loved the aroma of coffee ever since I was a child. Growing up in a Swiss-German household, coffee time was a beautiful daily ritual. I fondly remember my mom treating me to a coffee-soaked sugar cube whenever guests were over – my little introduction to a grown-up world.
In Switzerland, one of the most iconic summer treats you can order is a Café Liégeois – a glorious sundae of strong coffee ice cream, crisp meringues, and clouds of sweet chantilly cream. I always wanted to make a coffee dessert recipe and this creamy coffee ice cream recipe is my homemade homage to that exact tradition.

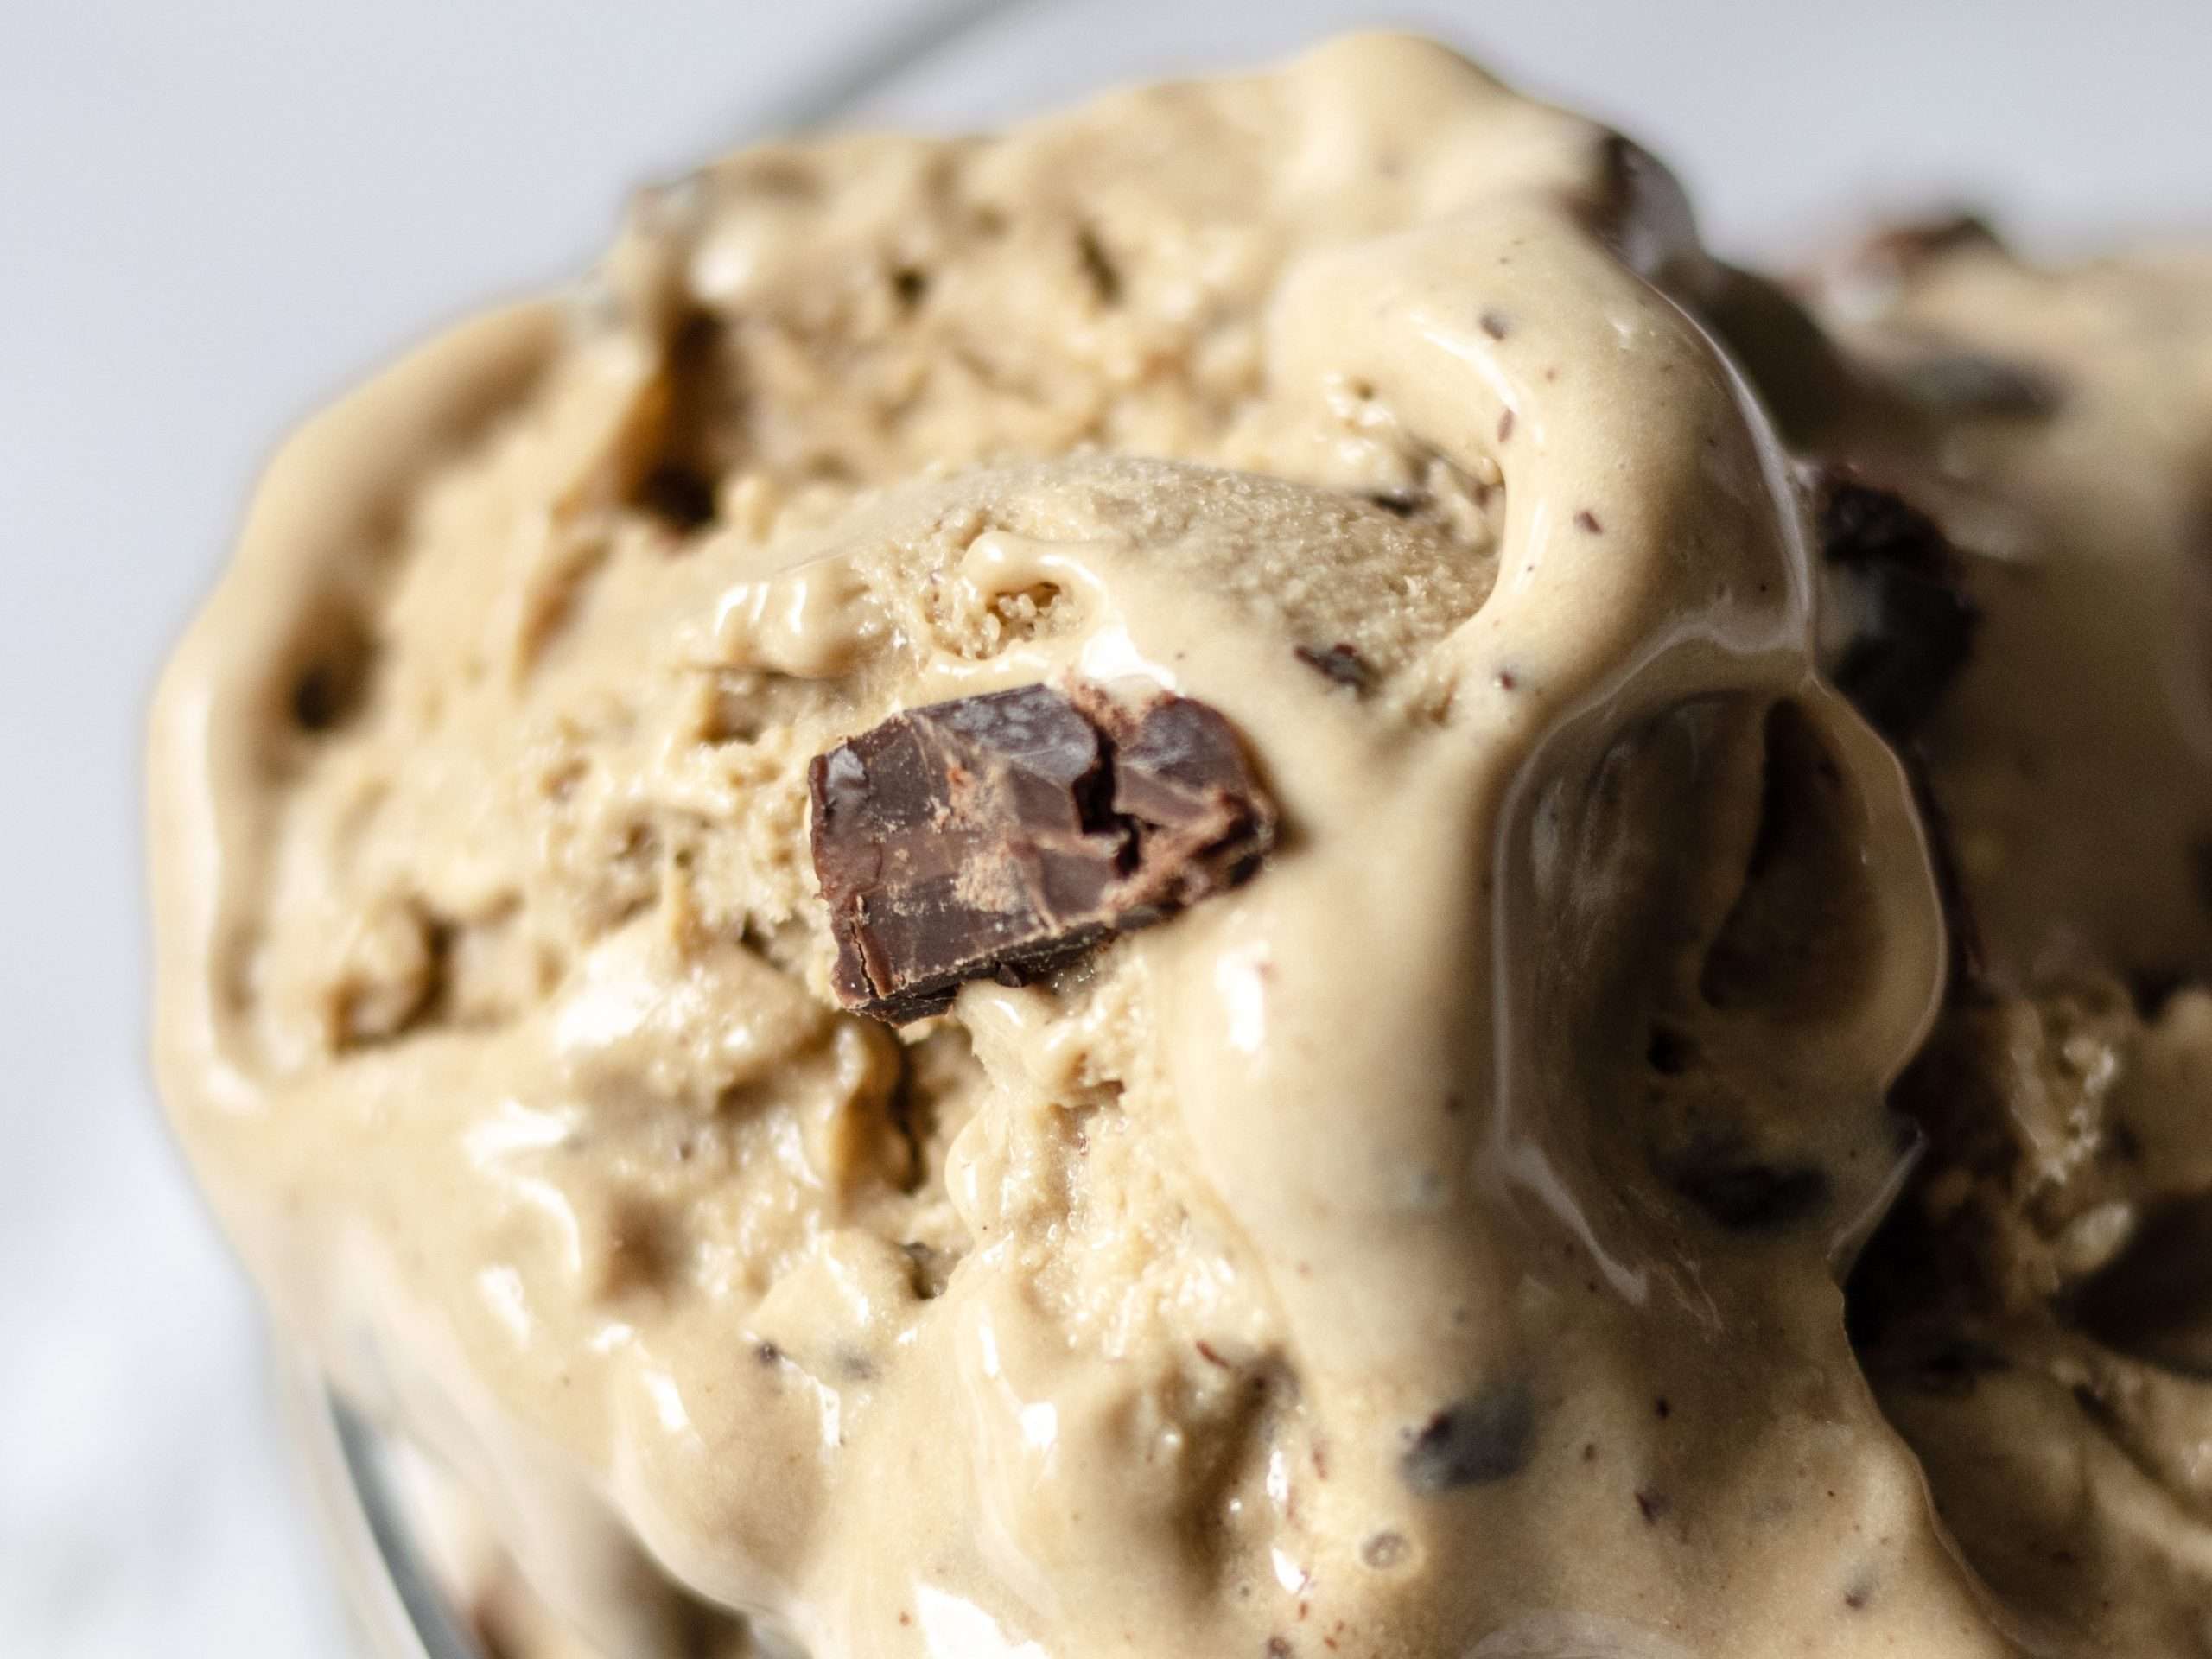
What you’ll love about this homemade coffee ice cream
- Rich Espresso Flavor: Bold and deeply aromatic without tasting bitter.
- True Premium Custard Texture: Velvet-smooth, scoopable consistency that doesn’t get icy.
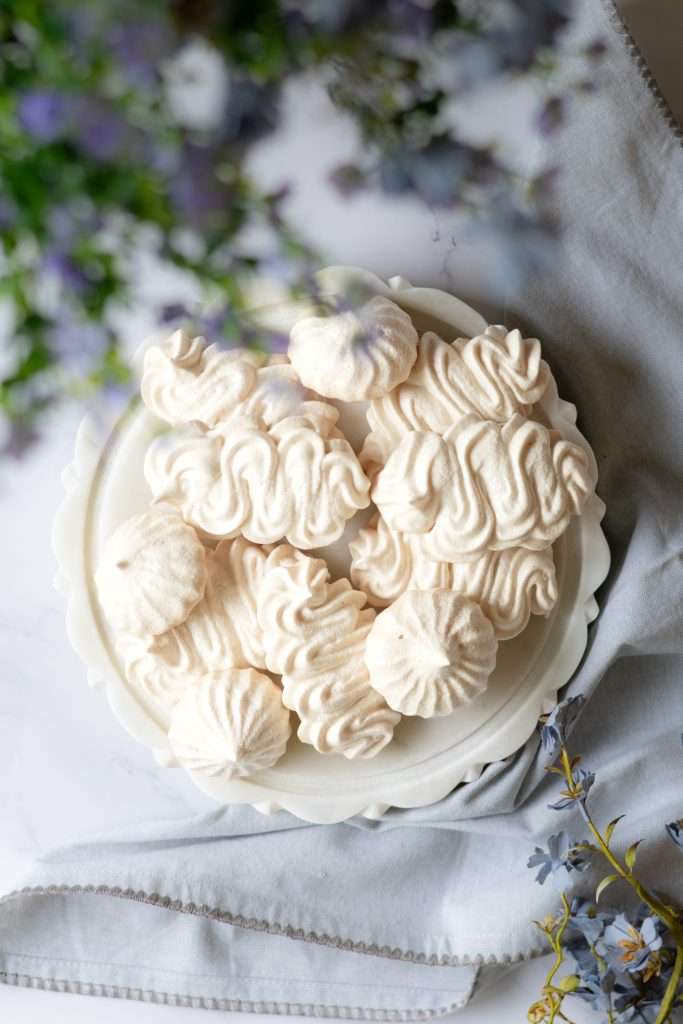
- The Ultimate Crunch: The option to add meringue pieces gives a gorgeous, texturized bite throughout.
- Mocha Ice Cream Twist: High-quality dark chocolate balances the sweet cream beautifully.
Ingredient Spotlight
For the full list of ingredients and precise measurements, please scroll down to the recipe card below.
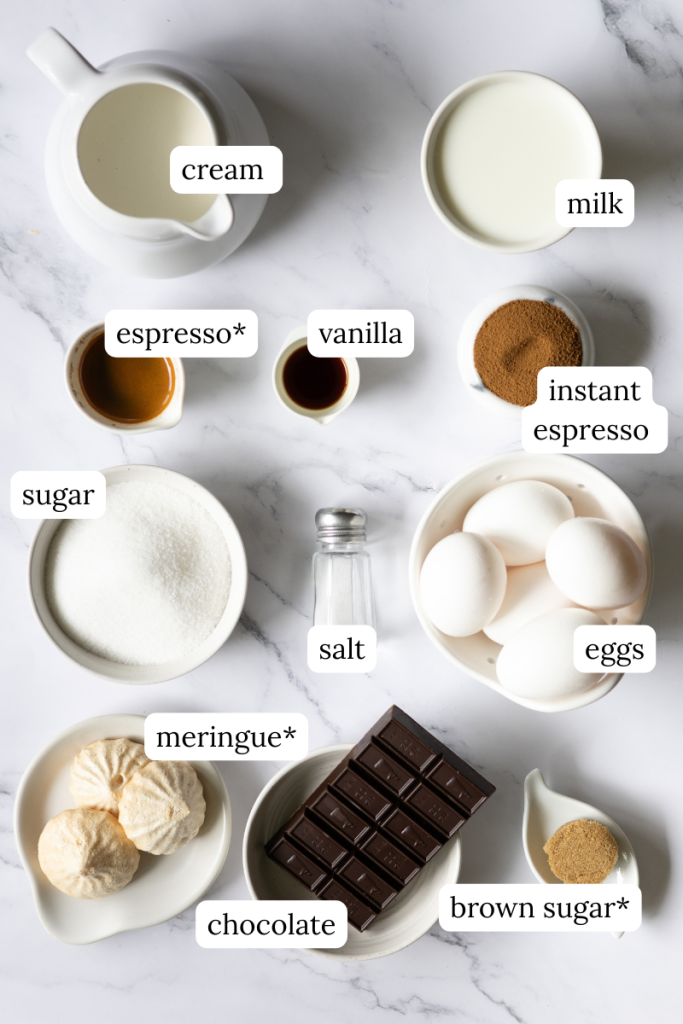
- Espresso Powder: Espresso powder gives this ice cream its rich coffee flavor without adding extra liquid. It creates a deeper, smoother taste than brewed coffee and helps the coffee shine through even after freezing.
- Egg Yolks: Egg yolks create a classic custard base, giving the ice cream its rich texture and helping it stay creamy and scoopable.
- Heavy Cream: Heavy cream is responsible for the luxurious texture and smooth mouthfeel that make this homemade coffee ice cream so satisfying.
- Whole Milk: Whole milk balances the richness of the cream, creating a creamy ice cream without feeling overly heavy.

FROM MY SWISS KITCHEN
Join me at the kitchen table.
Swiss-inspired recipes, cozy baking, and seasonal stories delivered each week.
Seasonal recipes, Swiss stories, and no spam.
How to Make Homemade Coffee Ice Cream (Step-by-Step)
The secret to a perfect batch of creamy coffee ice cream is low, gentle heat and proper chilling. Let’s walk through the exact steps to guarantee a silky-smooth churn.
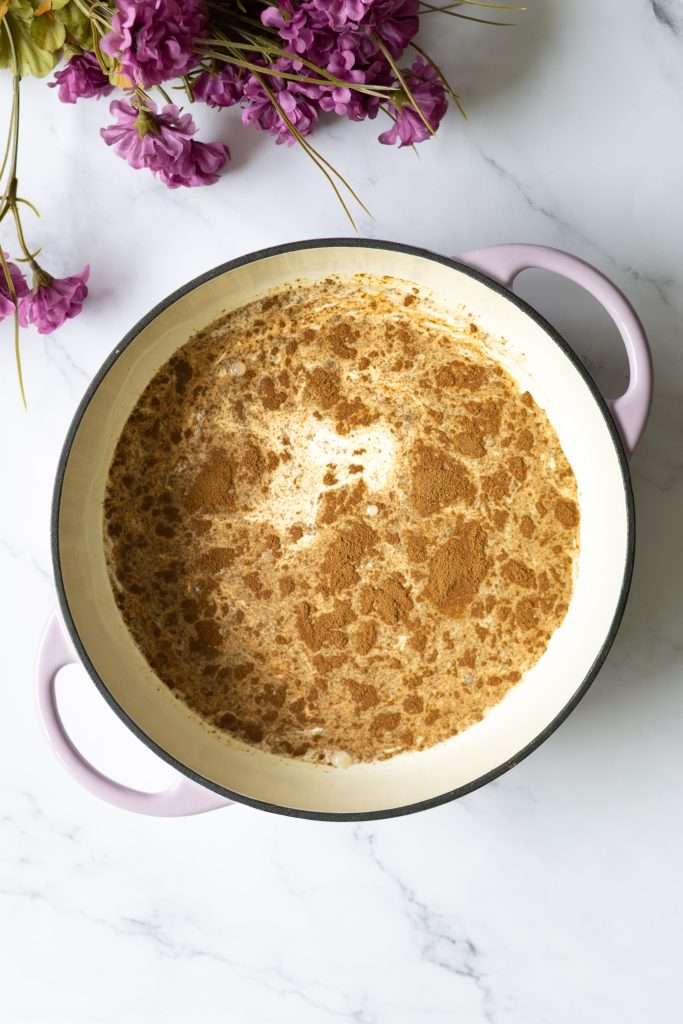
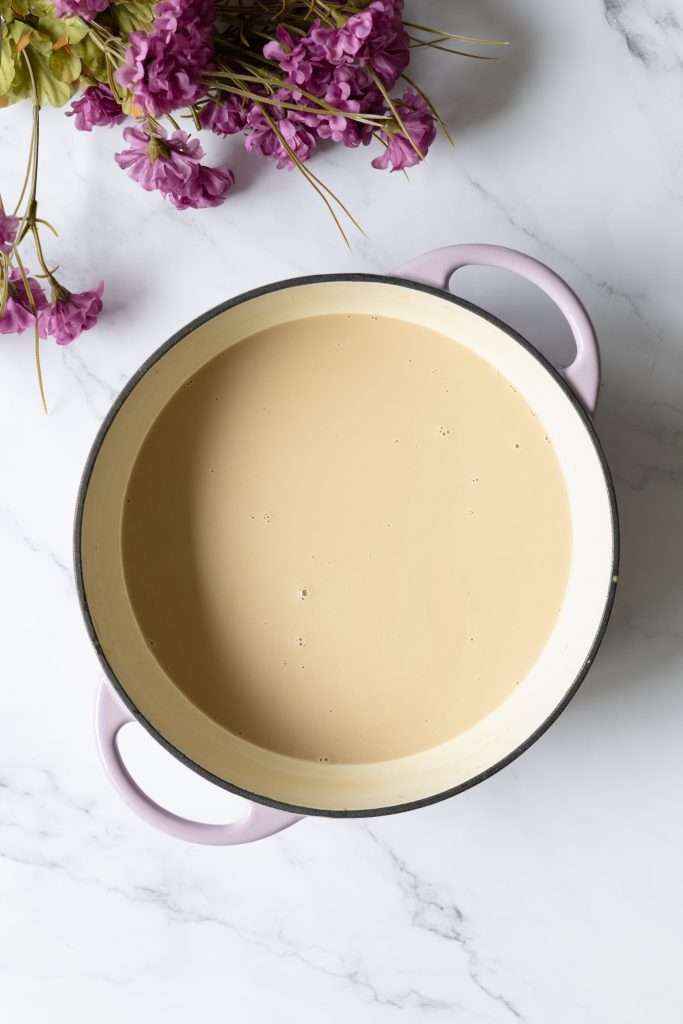

1.Warm the cream and coffee: 5 mins.
In a medium saucepan over medium heat, combine the heavy cream, milk, instant espresso powder, and half of the sugar. Bring to a gentle steam until the espresso dissolves. Do not let it boil.
2.Whisk the egg yolks: 2 mins.
In a separate heatproof bowl, vigorously whisk together the egg yolks and the remaining sugar until the mixture is completely smooth and turns a pale, light yellow color.
3.Temper the eggs: 3 mins.
Slowly pour 1 cup of the warm coffee cream into the egg yolks while whisking constantly. This warms the eggs gently so they don’t scramble. Once the bowl feels warm, pour everything back into the saucepan.
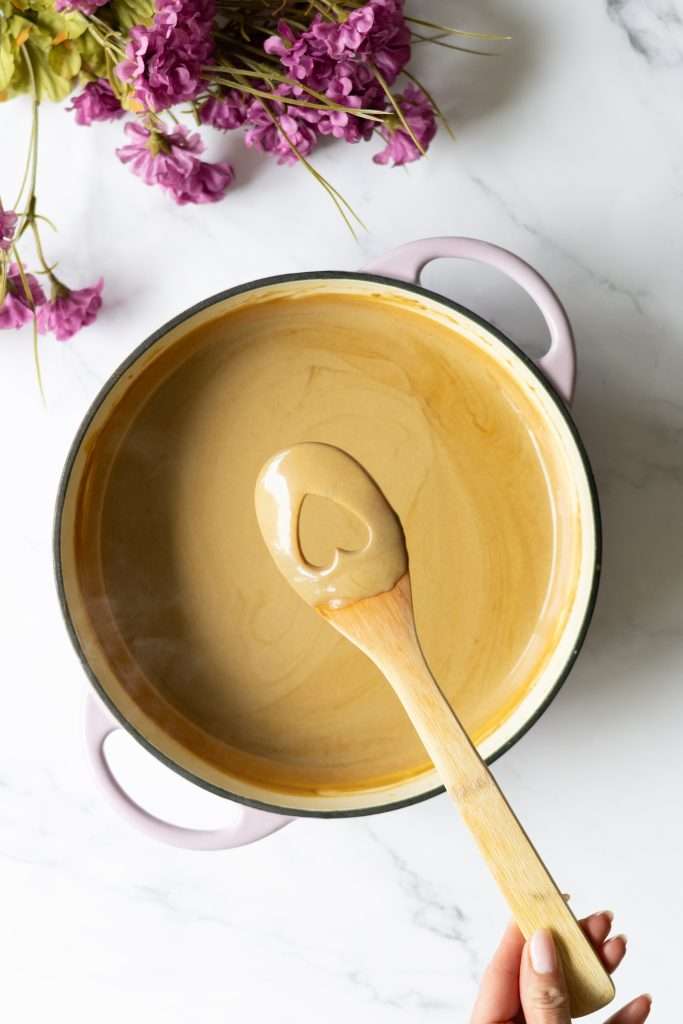
4.Cook the custard base: 8-10 mins.
Reduce heat to low. Stir constantly with a wooden spoon or spatula, scraping the bottom of the pan, until the liquid thickens slightly and cleanly coats the back of your spoon.
5.Chill completely: 4 hours or overnight.
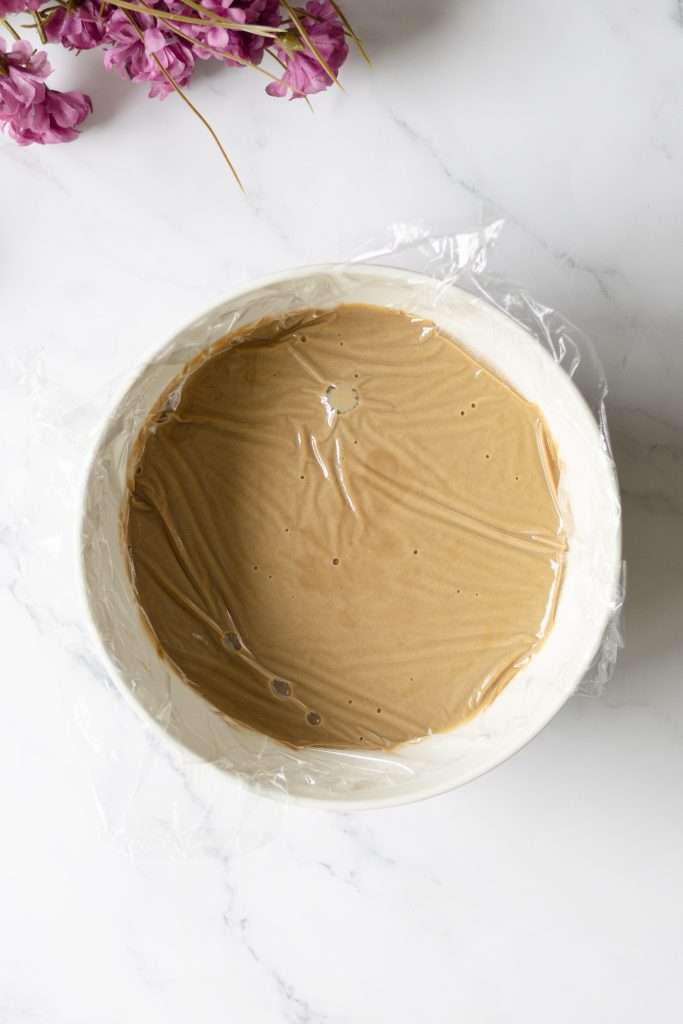
Remove from heat and stir in the vanilla extract and a pinch of salt. Transfer to a bowl, press plastic wrap directly onto the surface to prevent a skin from forming, and refrigerate until completely cold.
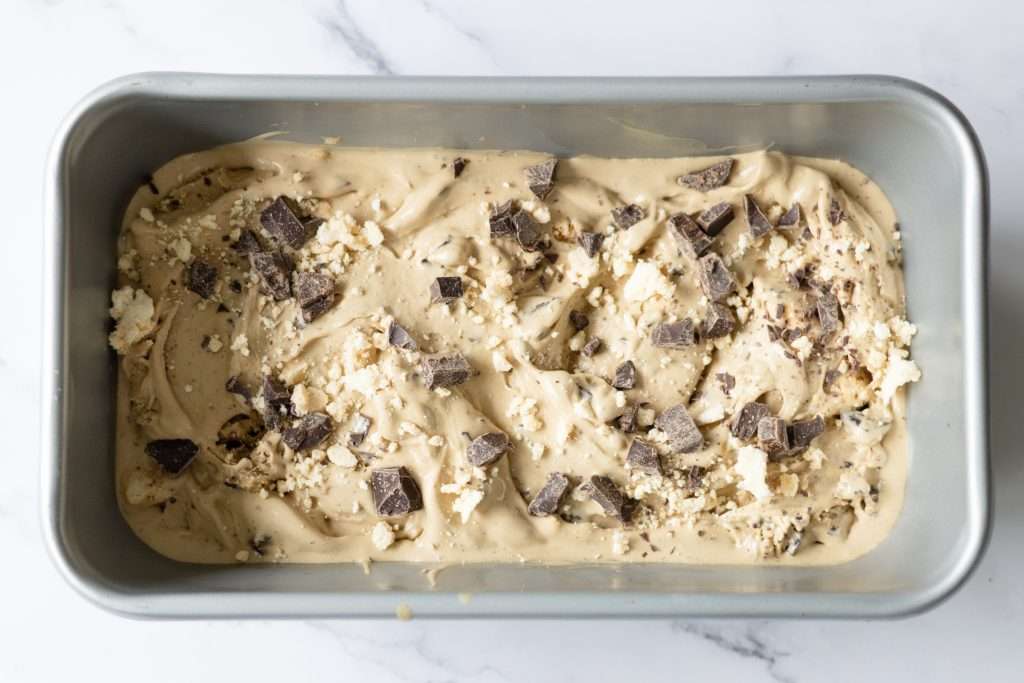
6.Churn and fold: 25 mins.
Pour the chilled base into your ice cream maker and churn to a soft-serve consistency. If you choose to add the chocolate and meringue bits this is where you would do it. In the final 2 minutes of churning, gently fold in your crushed meringues and chopped dark chocolate.
7.If you want to make this homemade coffee ice cream even more EXTRA – add an espresso ripple: 2 mins. (Optional)
Mix a concentrated splash of espresso and brown sugar. As you transfer the churned ice cream into your freezer container, drizzle and gently swirl this mixture through the layers with a knife.
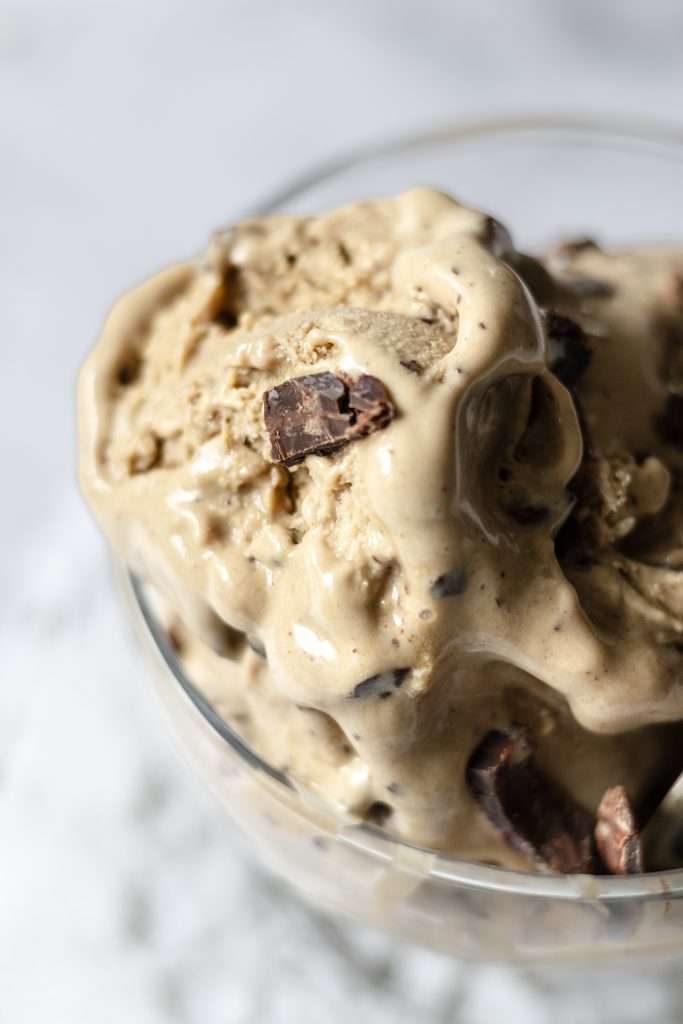
8.Freeze until scoopable
Transfer the ice-cream to a freezer-safe container and freeze for 4–6 hours, or until scoopable.
9.Let the coffee ice cream soften before serving
For the best texture, let the ice cream sit at room temperature for 5–10 minutes before scooping.
Variations & Substitutions
- Swiss Twist: Add a splash of Swiss Kirsch (cherry brandy) or coffee liqueur to the custard base right before chilling. Bonus: The alcohol keeps the ice cream even softer and easier to scoop!
- The Amaretti Swap: Swap the meringues for crushed Italian Amaretti cookies for a beautiful almond-coffee profile.
- Affogato-Style: Serve a scoop of this finished homemade coffee ice cream in a chilled glass and pour a fresh shot of hot espresso directly over the top.
Pro-Tips for Churning Success
- Prevent Curdling: If your custard gets too hot, the eggs will scramble and turn grainy. Keep the heat low and stay patient while thickening the base.
- The 24-Hour Rule: Ensure your ice cream machine’s bowl has been in the back of the freezer for a full 24 hours. A semi-frozen bowl will result in large, crunchy ice crystals.
- Save the Crunch: Only add the meringues at the very end of the churn cycle. This coats them in fat instantly, which prevents them from dissolving into the wet base.
- The Counter Thaw: Because this recipe contains zero artificial stabilizers, it will freeze quite firm. Let it sit on the counter for 5 to 10 minutes before scooping for that perfect, velvet texture.


Homemade Coffee Ice Cream with Chocolate & Meringue (Café Liégeois Style)
Ingredients
Method
- In a medium saucepan over medium heat, combine the heavy cream, whole milk, instant espresso powder, and 1/4 cup of the granulated sugar. Heat until steaming and the espresso is fully dissolved, but do not let it boil. Remove from heat.
- In a medium heatproof bowl, vigorously whisk the egg yolks with the remaining 1/4 cup of granulated sugar until the mixture is thick, smooth, and pale yellow.
- While whisking the egg yolk mixture constantly, slowly drizzle in about 1 cup of the warm cream mixture. This gently raises the temperature of the eggs so they do not scramble.
- Pour the tempered egg mixture back into the saucepan with the remaining warm cream. Place over low heat and stir constantly with a heatproof spatula or wooden spoon. Cook until the custard slightly thickens and cleanly coats the back of a spoon (about 8 to 10 minutes). Do not let it boil.
- Remove from heat and stir in the vanilla extract and sea salt. Strain the custard through a fine-mesh sieve into a clean bowl. Press plastic wrap directly onto the surface of the custard to prevent a skin from forming. Refrigerate for at least 4 hours, or overnight, until completely cold.
- Pour the completely chilled custard base into your ice cream maker and churn according to the manufacturer’s instructions until it reaches a thick, soft-serve consistency (roughly 20 to 25 minutes).
- In the final 2 minutes of churning, gently drop in the crushed meringues and chopped dark chocolate shards so they are evenly distributed.
- In a small bowl, dissolve the brown sugar into the hot shot of espresso to create a thick syrup; let it cool slightly. As you transfer the churned ice cream into a freezer-safe container, alternate layers of ice cream with a drizzle of the espresso syrup, swirling gently with a butter knife.
- Cover tightly and freeze for 4 to 6 hours until firm and scoopable. Let it sit on the counter for 5 to 10 minutes before serving for the ultimate creamy texture.
Notes
Disclaimer: I am not a certified nutritionist. Nutrition facts are calculated using an automated database of common ingredients and are intended as an estimate only. Variations can occur depending on product brands, measuring methods, and ingredient swaps.
Did you make this recipe?
I'd love to know how it turned out!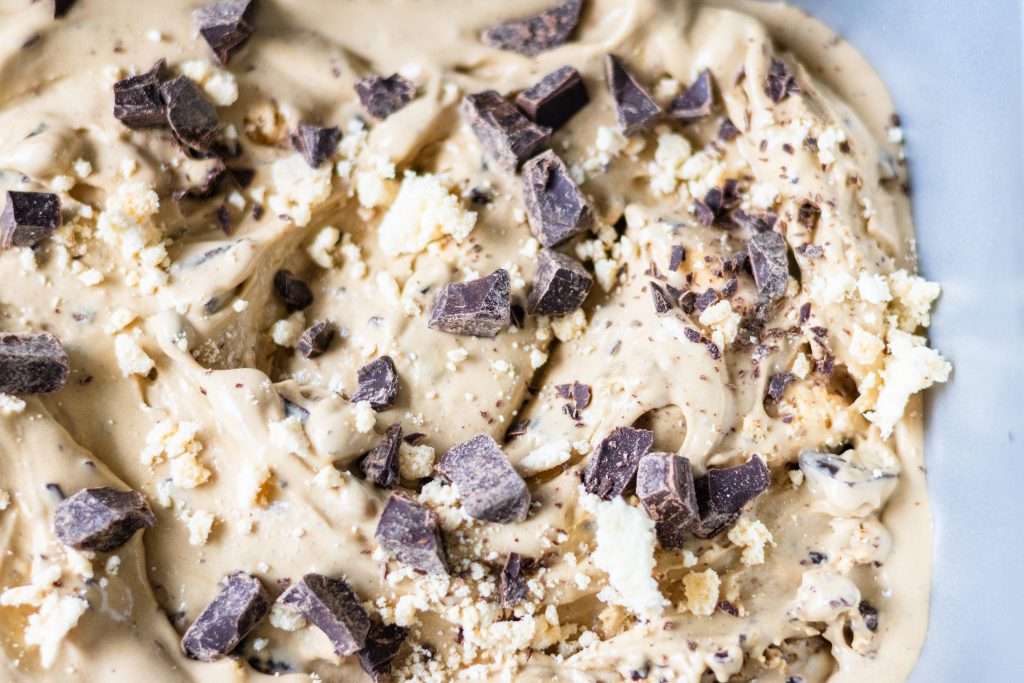
Serving Ideas
To showcase this dessert with authentic European café elegance, try serving it:
- The Café Liégeois Style: Piled high in a tall dessert glass, topped with homemade whipped cream, chocolate curls, and a whole mini meringue.
- The Demitasse Presentation: Scooped gently into chilled espresso cups for a stunning, miniature dessert course.
- The Berry Contrast: Paired with a handful of fresh, tart summer raspberries to cut through the rich mocha profile.
How to Store your Homemade Coffee Ice Cream
- Store in an airtight container in the freezer for up to 2 weeks.
- Press a layer of parchment paper or plastic wrap directly onto the surface to help prevent ice crystals.
Frequently Asked Questions
Watch the Video
This homemade coffee ice cream is the kind of refreshing dessert that feels simple at first glance but becomes surprisingly special after the first bite. Between the rich espresso flavor, the dark chocolate, and the little pockets of crisp meringue, it’s the perfect balance of creamy, crunchy, bitter, and sweet.
If you make it, I’d love to hear how you served yours – especially if you added your own twist.
Hungry for More Swiss Recipes?
If you’re curious about Swiss food beyond fondue and chocolate, you’re in the right place.
Subscribe to my newsletter and I’ll send you seasonal recipes, Swiss kitchen favorites, and the occasional family story straight from my Swiss-Canadian kitchen.


